Calligraphy Place Cards for Seasonal Gatherings
A batch project for a holiday table: cut and score tent cards, set up one set of guidelines for all of them, draft and center each name, ink, dry and erase.
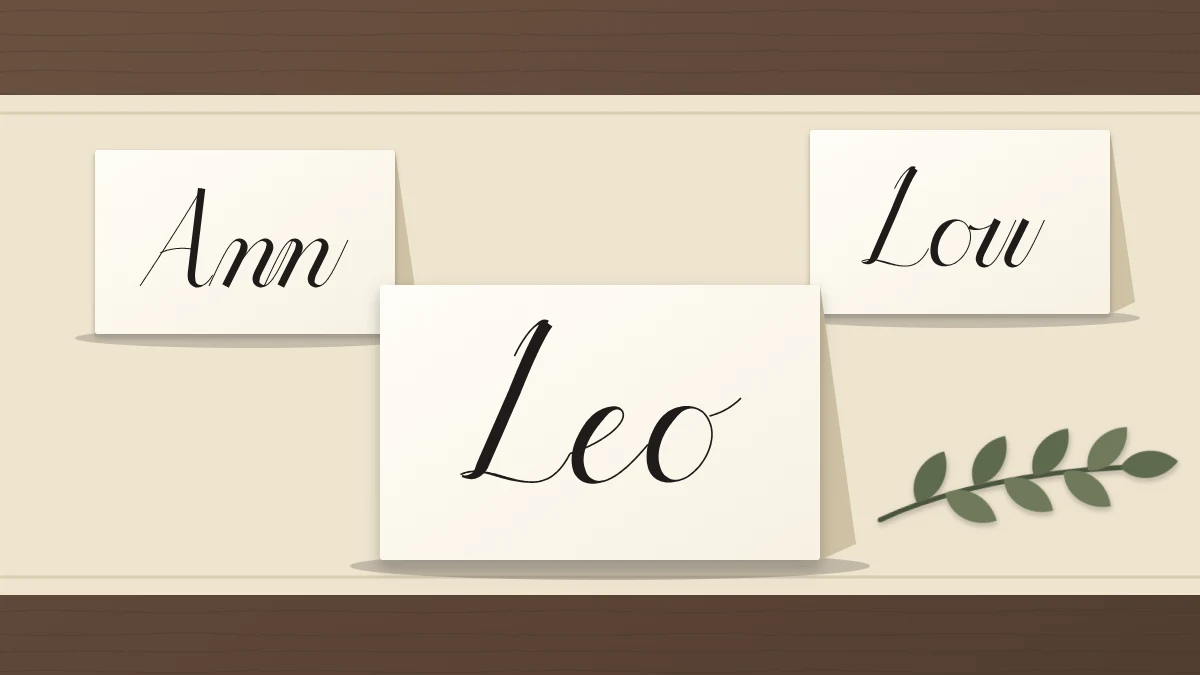
Practice at a glance
What you need
- Smooth card stock
- Pencil and ruler
- Scissors or craft knife and cutting mat
- Butter knife for scoring
- Soft eraser
- Small-tip brush pen or pointed nib with holder and ink
Handwritten names at each seat make a holiday meal or a seasonal party feel looked after, and they are well within reach of a beginner. Calligraphy place cards are a batch project: the same small card, the same guidelines and the same steps, repeated for every guest. The repetition is what makes the set look consistent.
Plan to make the cards a day or two before the gathering, at a desk, not at the dining table. That leaves time for the ink to dry and keeps bottles and wet strokes well away from the table linens.
Cut and score the tent cards
A tent card is a rectangle folded in half so that it stands on its two long edges. A convenient size starts as a rectangle 3.5 in wide and 4 in tall (about 8.9 x 10.2 cm). Folded across the middle, it stands 3.5 in wide and 2 in tall (about 8.9 x 5.1 cm).
- Choose smooth card stock that takes your pen without feathering, then rule and cut the rectangles. A letter-size sheet, 8.5 x 11 in, gives six: three widths of 3.5 in along the 11 in side and two heights of 4 in along the 8.5 in side, with narrow strips left over.
- On each rectangle, mark the midpoint of both 4 in sides, 2 in from the top.
- Lay the ruler across the two marks and run the back of a butter knife along it to score a line.
- Fold along the score with the scored groove on the outside of the fold, then open the card flat again for writing.
Make more cards than you have guests. For eight people, two sheets give twelve cards: eight to use and four spares for late additions and slips of the pen. Save the leftover strips for testing your pen.
Set up one set of guidelines for the batch
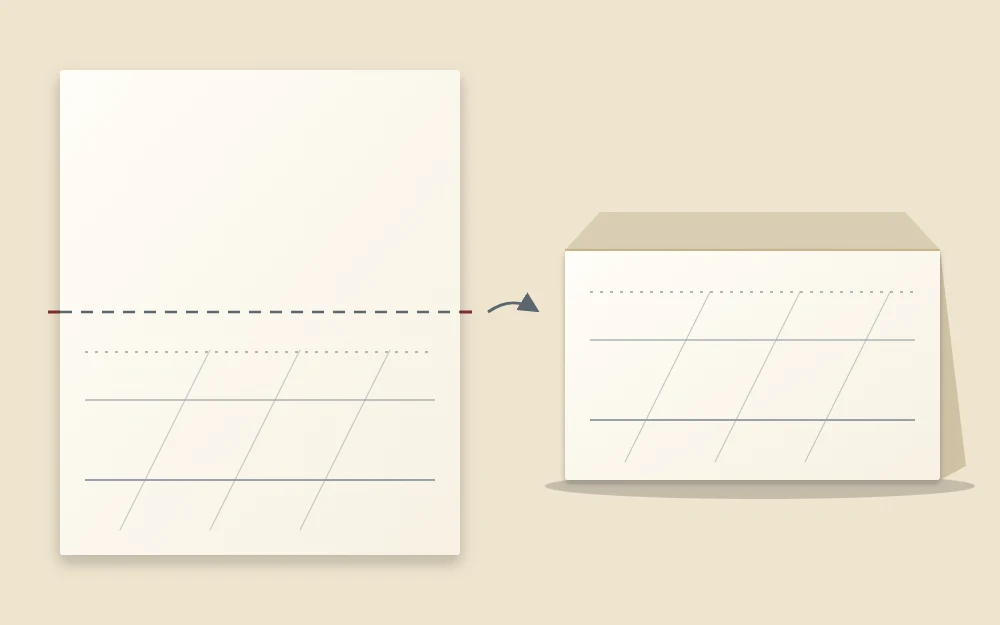
With the card flat and the fold line running across the middle, the lower half is the front panel. It is 2 in tall, which is about 51 mm. Every card should carry its name at the same height, so measure once and reuse the measurements.
A layout that suits a 6 mm (about 1/4 in) x-height, measured up from the bottom edge of the card:
| Line | Height above bottom edge |
|---|---|
| Descender line | 14 mm |
| Baseline | 20 mm |
| Waistline | 26 mm |
| Ascender line | 32 mm |
That leaves 14 mm of clear card below the descender line and about 19 mm between the ascender line and the fold. The body of each name then sits close to the middle of the panel.
To avoid measuring every card, make a marking strip. Take an offcut with a straight end, set that end level with the bottom of a card, and mark the four heights on its edge. Hold the strip against the left side of each card and copy the ticks, repeat on the right side, and join them with light pencil lines. Add a small tick at the center of the baseline, 1.75 in from either side.
If your card is thin enough for dark lines to show through, you can instead rule one bold template on white paper and slide it behind each card.
Draft the names in pencil
Write the whole guest list in pencil on scrap paper at the same x-height, one name per row, and measure each one.
Start with the longest name, because it sets the size for the batch. With a margin of at least 3/8 in on each side, a card 3.5 in wide has 2.75 in of writing width. If the longest name runs past that, reduce the x-height for the whole set and adjust your marking strip. A set written at one size looks more unified than a set where only the long names shrink.
Capitals do a lot of the work on a place card, since each name begins with one. If yours feel unsteady, spend a session on the fundamentals of uppercase letters before the batch.
Center and ink each name
Halve each measured name to find where it starts. A name 2 in long begins 1 in to the left of the center tick, which is 0.75 in from the left edge of the card. A short name such as Leo or Mia simply leaves wider margins. The full method, including what to do about descenders and joins after the capital, is in the guide on how to write names well.
- Warm up with a few rows of strokes and two or three names on scrap paper.
- Mark the start and end of the name on the card and pencil it in lightly.
- Ink the name at your practice pace, lifting between strokes.
- Set the card aside flat, out of reach of your sleeve, and move on to the next.
Tip
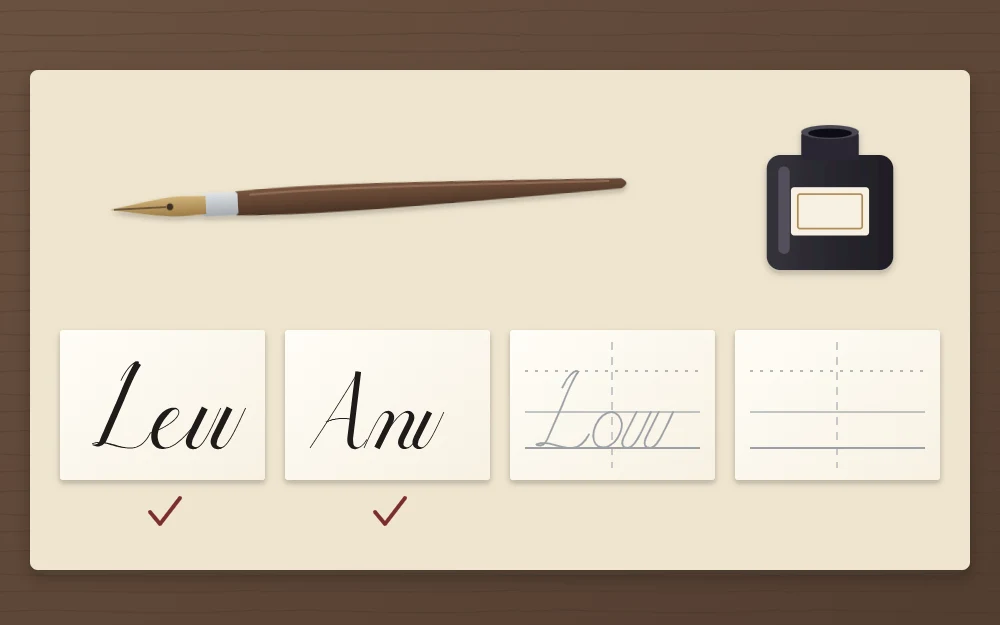
Batch the stages. Rule all the cards, then pencil all the names, then ink them one after another.
Add a small seasonal mark
A tiny decoration made with the same pen ties the cards to the occasion. Keep it smaller than the capital and put it in the same spot on every card, such as the lower right corner or centered under the name.
- A sprig: a short curved hairline with three or four single-stroke leaves that swell and taper
- A star: three short hairlines crossing at one point
- A leaf for autumn: one thick curved downstroke with a hairline stem
Dry, erase and set the table
Leave the cards flat until the ink is completely dry. This can take longer than expected on smooth card, so leaving them overnight is a cautious choice. Test by erasing next to a stroke on a spare card before you touch the set.
Erase the pencil lines gently, fold each card along its score, and check the names against the guest list one more time. On a larger table, the same care with spacing applies to the arrangement itself, and the principles in layout basics will help if you also write a menu or a welcome sign.
Good to know
Ink can stain fabric permanently. Do not carry an open bottle to the table for last-minute cards; write any late additions at your desk with a brush pen and let them dry before they go near the linens.
Frequently asked questions
What size should a tent place card be?
There is no standard, but a card that stands about 3.5 inches wide and 2 inches tall holds most first names at a comfortable writing size. Cut the flat piece twice as tall as the finished height, so 3.5 by 4 inches, and score it across the middle before folding.
Should I write first names only or full names?
First names are easier to fit and to center, and they suit family meals and informal parties. Full names need a smaller size or a wider card. If two guests share a first name, adding a last initial after a small word space usually solves it.
How far ahead can I make place cards?
As early as the guest list is settled. Making them a day or two ahead gives the ink time to dry before you erase the pencil lines and leaves room to redo a card. Store the finished cards flat, or folded and stacked loosely, somewhere dry and away from direct sun.