Dip Pen Calligraphy: Nibs, Holders and Your First Dips
A calm setup routine for a pointed nib and straight holder: the parts, seating the nib, washing a new nib in mild soapy water, how deep to dip, first strokes and cleaning up.
Practice at a glance
What you need
- Pointed nib
- Straight holder
- Small bottle of ink for dip pens
- Smooth practice paper
- Water jar
- Lint-free cloth
- Desk mat or scrap paper
A pointed nib and a holder look simple, and then the questions start. Which way up does the nib go? How far into the ink? Why does a brand-new nib refuse to hold any ink at all?
Dip pen calligraphy has a short setup routine, and once you know it, each session begins the same calm way. What follows covers the parts of the pen, seating and preparing a nib, your first dips and strokes, and cleaning up afterward, all at an introductory level.
The parts of a pointed nib and a straight holder
A pointed nib is a thin piece of shaped metal. Knowing four of its features makes every later instruction easier to follow:
- Tines: the two halves of the tip. Under pressure they spread apart to make a thick stroke, and they close again for a hairline.
- Slit: the fine cut between the tines that carries ink down to the point.
- Vent hole: the small opening at the top of the slit. It holds a reserve of ink and is your marker for how deep to dip.
- Shoulders and base: the wider curved body above the vent hole, ending in the base that slides into the holder.
A straight holder is a handle with an opening at one end. Inside is usually a metal ring with small prongs, or a slot, that grips the base of the nib. For more background on nib anatomy, see the general reference article on nibs.
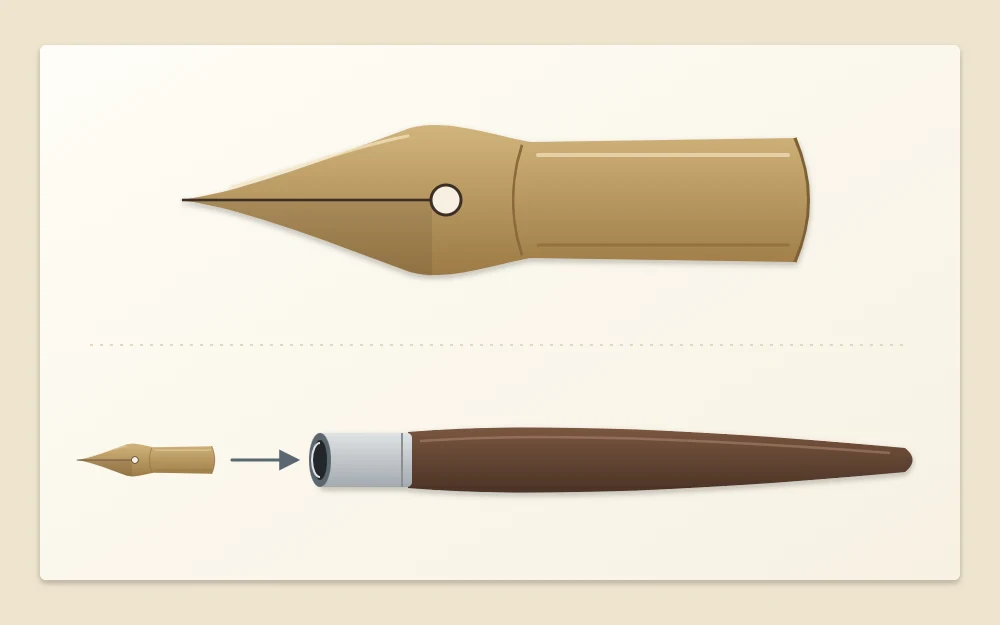
An oblique holder, which carries the nib in an offset side piece, is optional and can wait. If you are still gathering supplies, the simple starter kit lists everything this route needs.
Good to know
Nib points are sharp. Always handle a nib by its base or shoulders, never by the tip, and never test a point on your skin. Ink can stain permanently, so cover the desk and wear old clothes. Keep the bottle capped between sessions and out of reach of children and pets.
Seating the nib
- Hold the nib by its base with the curved top facing up and the hollow underside facing down.
- Slide the base into the holder between the outer rim and the inner ring or prongs. It goes around the edge, not into the center.
- Push gently until the nib feels firm and does not wobble. Roughly a third to half of the nib ends up inside.
- Look from the front: the slit should line up with the center of the holder.
If it is very tight, wiggle the base slightly as you push. Never press on the tip to force it in.
Preparing a new nib
New nibs are shipped with a thin protective coating that keeps the metal from rusting. That coating also repels ink, which is why a fresh nib often drops its ink in a blob or holds none at all.
Removing it is simple and needs only mild soapy water:
- Put a drop of mild dish soap on a soft cloth or a soft toothbrush with a little water.
- Holding the nib by its base, rub both sides gently for about half a minute.
- Rinse it under clean water.
- Dry it thoroughly with a lint-free cloth, since a damp nib rusts.
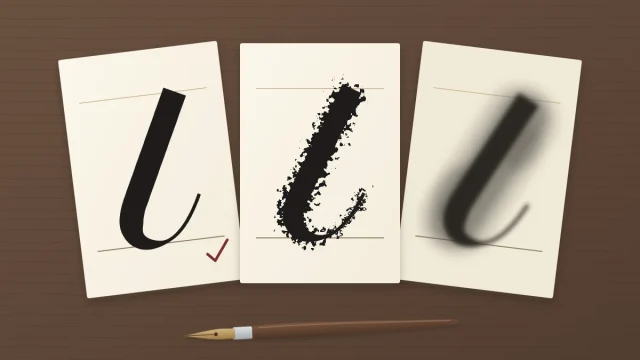
Dip the nib to check. If ink coats the metal in an even film instead of beading up, it is ready. If it still beads, wash it once more. Mild soap and water is all this job needs; heat and harsh cleaners can damage a nib.
Setting up the desk
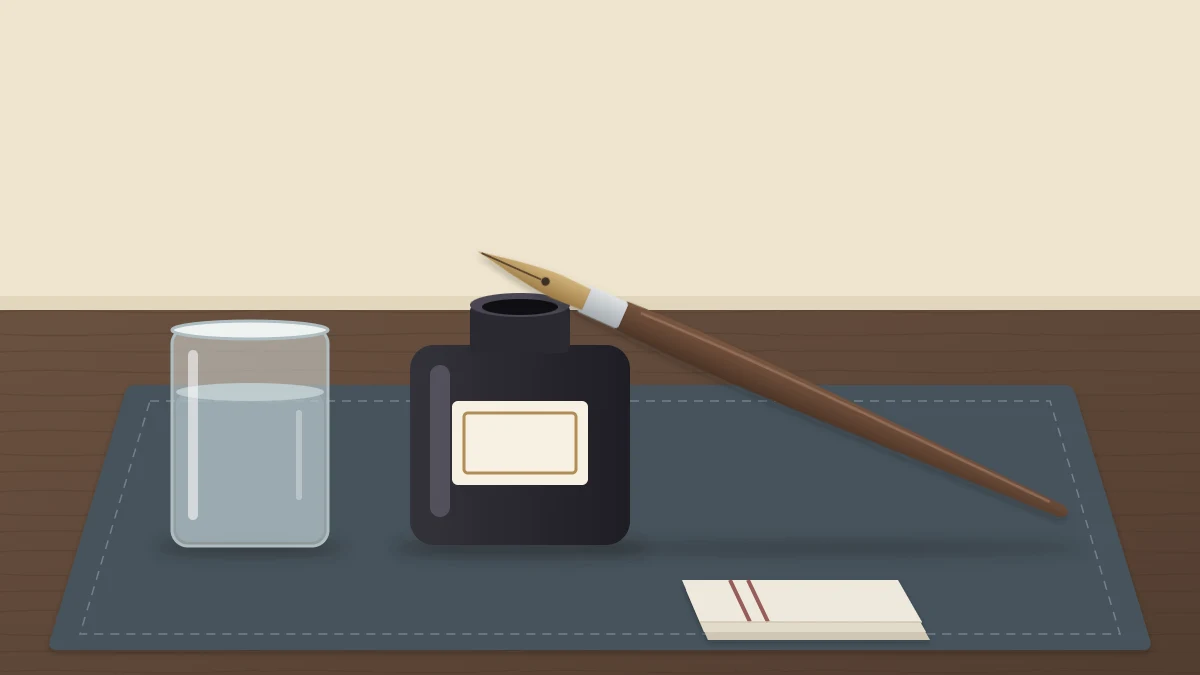
Lay down a protective mat or a few sheets of scrap paper, then your writing paper on top. Place the ink and a jar of rinse water on the side of your writing hand so the loaded pen never travels over the page. Keep a lint-free cloth beside them.
A small bottle tips easily, so stand it in something heavier or fix it in place. Smooth paper matters a great deal with a nib; the guide to choosing paper explains what to look for. For the liquid itself, see handling calligraphy ink.
Your first dips
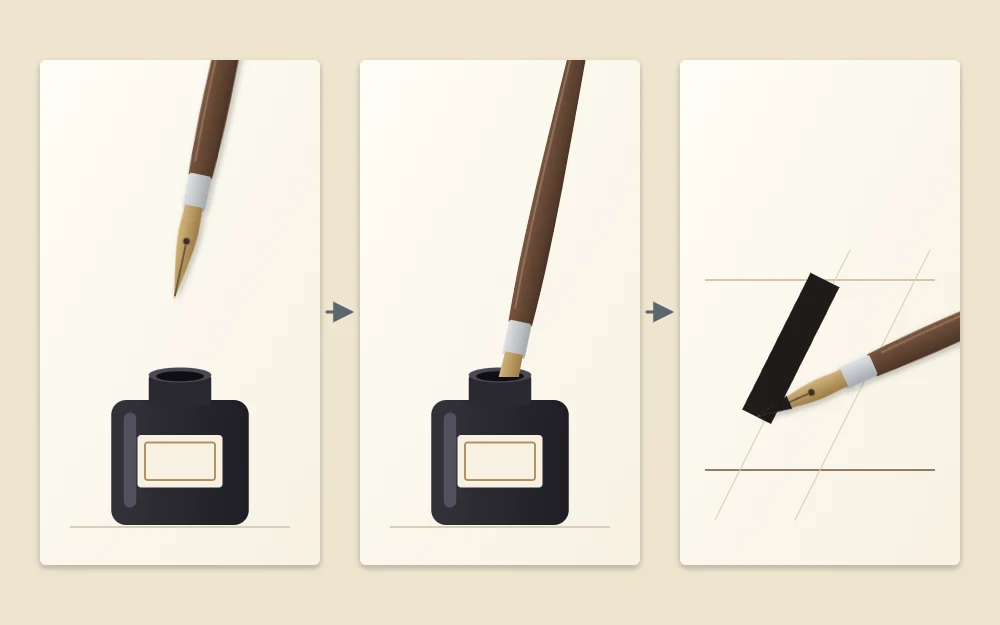
- Lower the nib into the ink until the surface sits just past the vent hole. Deeper than that only inks the shoulders and the holder.
- Lift it out and touch the underside of the nib lightly against the inner rim of the bottle so the excess runs off.
- Check that the vent hole is filled with ink. If it is, the nib is loaded.
- Make a test mark on scrap paper before you write on your practice sheet.
First strokes
Hold the pen at a low, relaxed angle to the paper so the nib glides on its underside. As a starting point, aim the nib so both tines touch the paper evenly, then adjust for comfort; left-handed writers often turn the paper further. The guide on how to hold the pen offers several options.
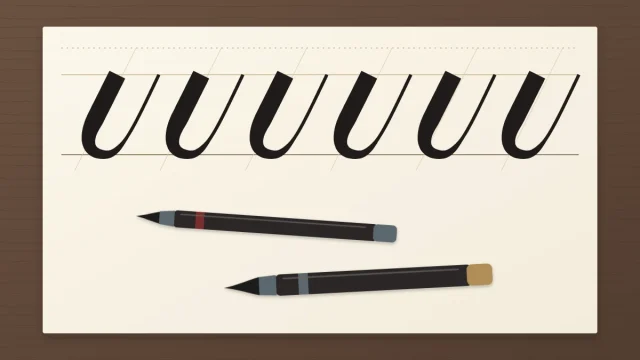
Begin with downstrokes. Pull the pen toward you and add gentle pressure until the tines open and the line widens, then release before you lift. Fill a row with these.
Next, try upstrokes with almost no pressure at all. The point should skim the surface. If it catches, you are probably pressing, holding the pen too upright, or pushing against one tine. Slow down and lighten your touch.
Re-dipping and rinsing as you go
One dip commonly lasts for a few strokes to a short word, depending on the nib, the ink and your pressure. Dip again when the line starts to look pale or dry, and try to do it between strokes, not in the middle of one.
Ink dries on the nib as you work and gradually clogs the slit. Every few minutes, swish the nib in the water jar, wipe it gently from base to tip with the cloth, and dip afresh.
Cleaning up after practice
- Rinse the nib in water until no ink clouds out. Keep the water below the holder opening, because water trapped inside rusts the ring.
- Wipe both sides dry, working away from the point.
- Take the nib out of the holder, holding it by the base, and dry the part that was hidden.
- Store nibs dry in a small tin or box where the points cannot be touched by accident.
- Cap the ink firmly and follow the label for cleaning any spills.
Frequently asked questions
Why does ink slide off my new nib?
New nibs carry a thin protective coating from the factory that repels ink. Wash the nib gently on both sides with a drop of mild dish soap and water, rinse it, and dry it completely with a lint-free cloth. After that, ink should cling to the metal in an even film.
How often should I dip the nib?
There is no fixed count. Depending on the nib, the ink and how hard you press, one dip may last a few strokes or a short word. Dip again when the line begins to look pale or dry, ideally between strokes so the join does not show.
Why does my nib catch on the paper during upstrokes?
The usual causes are too much pressure, a pen held too upright, a nib rotated so one tine leads, or textured paper. Use the lightest touch you can on the way up, lower the pen angle, check that both tines sit evenly, and try a smoother sheet.