Calligraphy Ink: Handling, Dipping and Cleaning Up
The main ink families described by type, what to read on the bottle, how deep to dip, how long to wait before erasing, and how to fix blobs and split strokes without making a mess.
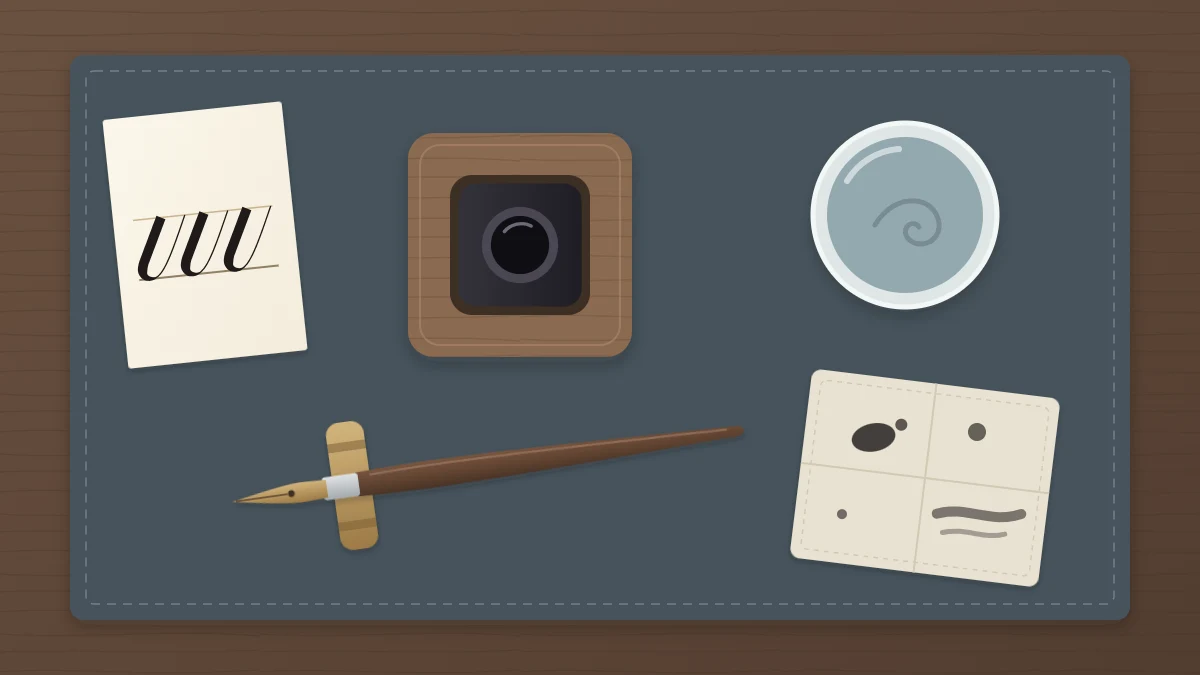
Ink is the part of dip pen work that makes beginners nervous. It can blob, it can run off the nib, and a tipped bottle is a real nuisance. Nearly all of that comes down to a few handling habits and to picking a kind of ink that suits a dip nib.
This guide describes the main families of calligraphy ink by type, what to read on the bottle, how to dip and work cleanly, and how to deal with the two most common faults: blobs and split strokes.
Ink families, described by type
| Type | What it is | What to expect |
|---|---|---|
| Water-based dye ink | Color dissolved in water | Flows easily and usually rinses out of a nib with water; often less resistant to water and light once dry |
| Pigmented ink | Fine particles of color suspended in liquid | Dense, opaque lines; settles in the bottle; can dry hard on a nib, so rinse often |
| Sumi-style ink | A carbon-based black ink in the East Asian tradition | Rich black with a slightly thicker body that clings well to a nib; some dry with a soft sheen |
Any of these can work for practice. Many beginners find a slightly thicker black ink easiest, because it stays on the nib and makes hairlines easy to see.
Why thin fountain-pen ink can run off a dip nib
Ink made for fountain pens is deliberately thin so it can travel through a narrow feed. A dip nib has no feed; it relies on the ink clinging to bare metal. A very watery ink may slide straight down to the point, leaving a puddle at the start of the stroke and little for what follows. It is not a bad ink, only one designed for a different pen. Some work acceptably and some do not, so test before relying on one.
Other materials, such as iron gall ink and paints thinned for the pen, exist and are better left for later, once ordinary bottled ink feels familiar.
What to read on the label
The label is the most reliable information you have about a particular bottle. Before opening it, look for:
- Intended use. Does it say it is suitable for dip pens? Does it warn against use in fountain pens? That warning often signals a thicker or pigmented ink.
- Washability. Whether it rinses out with water, and from what. Treat any ink as able to mark fabric until the label says otherwise.
- Lightfastness. How well the color resists fading. This matters for pieces you plan to display, and hardly at all for drills.
- Water resistance. Whether dried lines survive a damp hand or a splash.
- Cleaning and safety instructions. Follow them as written, including anything about shaking, storing and disposal.
Good to know
Ink can stain clothing, wood, carpet and stone permanently. Cover the desk, wear old clothes and cap the bottle whenever you step away. Keep ink stable on the desk and stored out of reach of children and pets.
Setting up to work cleanly
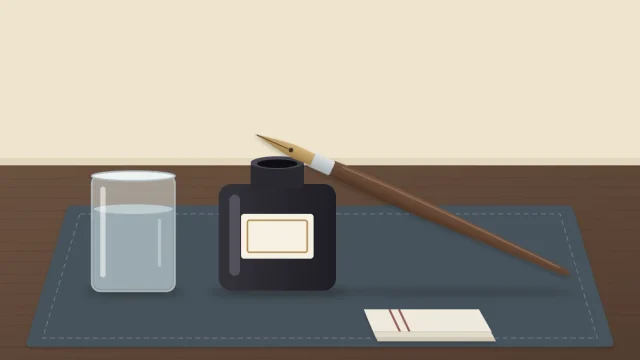
- Make the bottle stable. Tall, narrow bottles tip easily. Stand yours in a heavier dish or a holder made for the purpose, or decant a little into a small wide jar that sits in a holder.
- Stir gently. Pigmented and sumi-style inks settle. A slow stir with a clean stick mixes them without creating bubbles; follow the label if it says to shake instead.
- Place ink on your writing-hand side so a loaded nib never crosses the page.
- Keep a water jar and a lint-free cloth close. You will use both every few minutes.
Dipping depth and touching off
Lower the nib until the ink reaches just past the vent hole, the small opening above the slit. That fills the nib’s reserve without coating the shoulders or the holder. Then touch the underside of the nib against the inside rim of the bottle to let the excess run back.
Make a short mark on scrap paper before writing. The first touch after a dip always carries the most ink, and it is better spent on scrap. Nib setup and seating are covered in the guide to nibs, holders and first dips.
Drying time before erasing
Thick downstrokes hold a surprising amount of liquid and stay wet long after hairlines have dried. Give a page several minutes at least, and longer for heavy ink or humid weather, before you erase pencil guidelines. Tilt the sheet toward the light: wet ink shines. Smoother, less absorbent sheets slow drying further, which is one of the trade-offs described in how to choose paper.
Fixing blobs and railroading
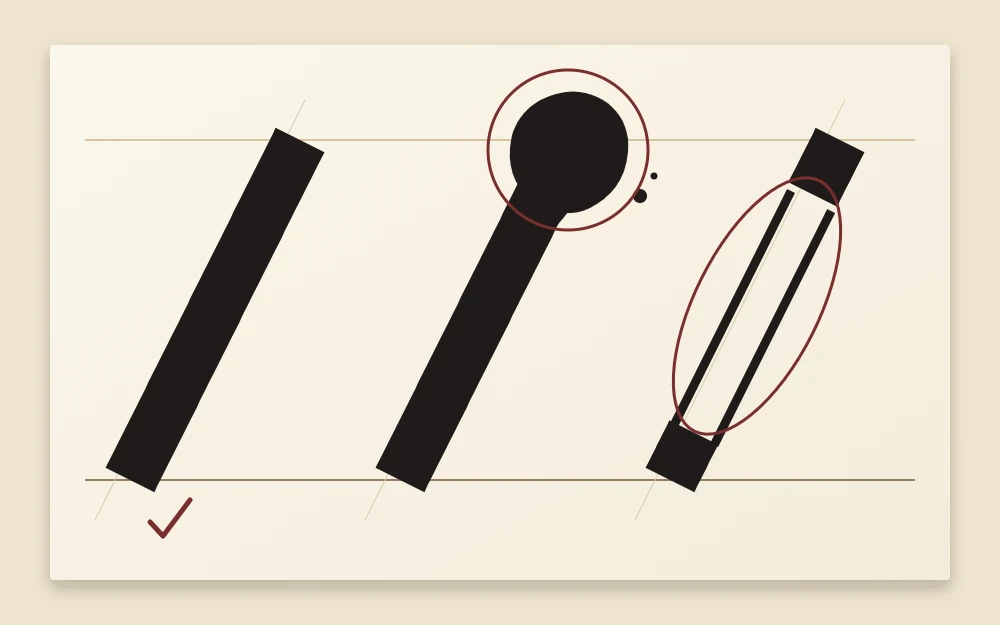
Blobs
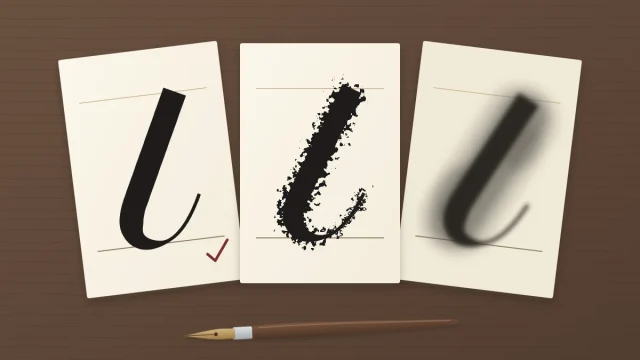
A blob is a pool of ink released at the start of a stroke. Common causes and fixes:
- Too much ink on the nib. Dip less deeply and touch off every time.
- A new nib that has not been washed. Its coating makes ink bead and drop.
- Ink that is too thin for a dip nib. Try a thicker type.
- Landing hard. Set the nib down gently before adding pressure.
Railroading
Railroading is a downstroke that splits into two thin parallel lines with a gap between them. The tines have opened, but ink is not filling the space. Usually:
- The nib is running dry. Dip again.
- The stroke is too fast for the ink to follow. Slow down.
- The tines are spread too wide. Ease the pressure a little.
- Dried ink is clogging the slit. Rinse, wipe and re-dip.
- The ink has thickened in an open bottle. Check the label for whether it can be thinned, and with what.
Both faults are normal in early practice. For other common problems and their fixes, see beginner calligraphy mistakes.
Cleaning up
- Nib: rinse in the water jar until it runs clear, wipe from base to tip with the cloth, and dry it fully. Handle it by the base; the point is sharp.
- Bottle: wipe the rim so the cap does not glue itself shut, then close it firmly. Pour any decanted ink back only if the label allows it and the ink is clean.
- Hands: wash with soap and water soon after you finish. Some inks leave a mark on skin that fades over a day or two.
- Desk: blot spills at once with a paper towel, pressing down instead of wiping outward, then clean the surface as the label advises.
- Clothing: blot, do not rub, and follow the label. Some marks will not come out, which is why covering up first is the dependable approach.
Frequently asked questions
Can I use fountain pen ink with a dip pen?
Sometimes. Fountain pen ink is thin by design, so on a dip nib it may run to the point and blob, then run out quickly. Some bottles behave acceptably and others do not. Try a few strokes on scrap paper first, and switch to an ink described as suitable for dip pens if it will not stay on the nib.
How long should ink dry before I erase pencil lines?
Wait until the thickest strokes no longer shine when you tilt the page toward the light. That may be several minutes on absorbent paper and considerably longer on very smooth or translucent sheets, or in humid weather. When unsure, leave the page for an hour and erase gently.
Why has my ink become thick in the bottle?
Water evaporates each time a bottle sits open, so ink slowly thickens with use. Keep the cap on between dips during long sessions. Whether and how a thickened ink can be thinned depends on what it is made of, so check the label before adding anything to the bottle.