Calligraphy Mistakes: 10 Common Beginner Problems and Fixes
Ten problems that show up on almost every beginner's practice page, from shaky upstrokes to feathering paper, each with a likely cause and one specific thing to try.
A practice page that looks wrong is not a sign that you lack the knack. Almost all early calligraphy mistakes come from a short list of causes, and each cause leaves a recognizable mark on the paper. Once you can name what you are seeing, you know what to change.
Below are ten problems that nearly every beginner meets, with a likely cause and something specific to try. Treat them as normal stages. Pick the one that matches your page most closely and work on that alone for a few sessions.
Line quality: wobbles and uneven widths
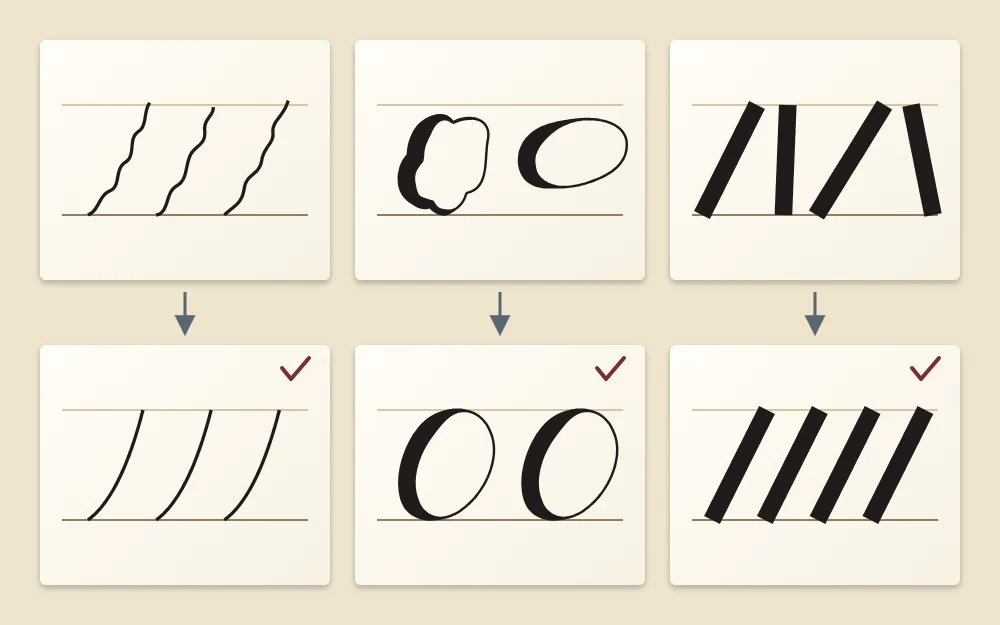
1. Shaky upstrokes
Likely cause: moving very slowly with a tight grip, or pushing the stroke with the fingers alone. Thin lines show every tremor.
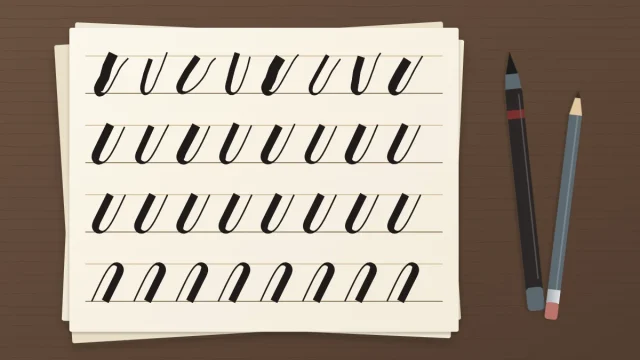
Try this: loosen your hold, rest your forearm on the desk and let the whole hand glide upward at a slightly quicker, even pace. Use the lightest touch that still leaves a mark. A few rows of plain upstrokes at the start of a session help a great deal.
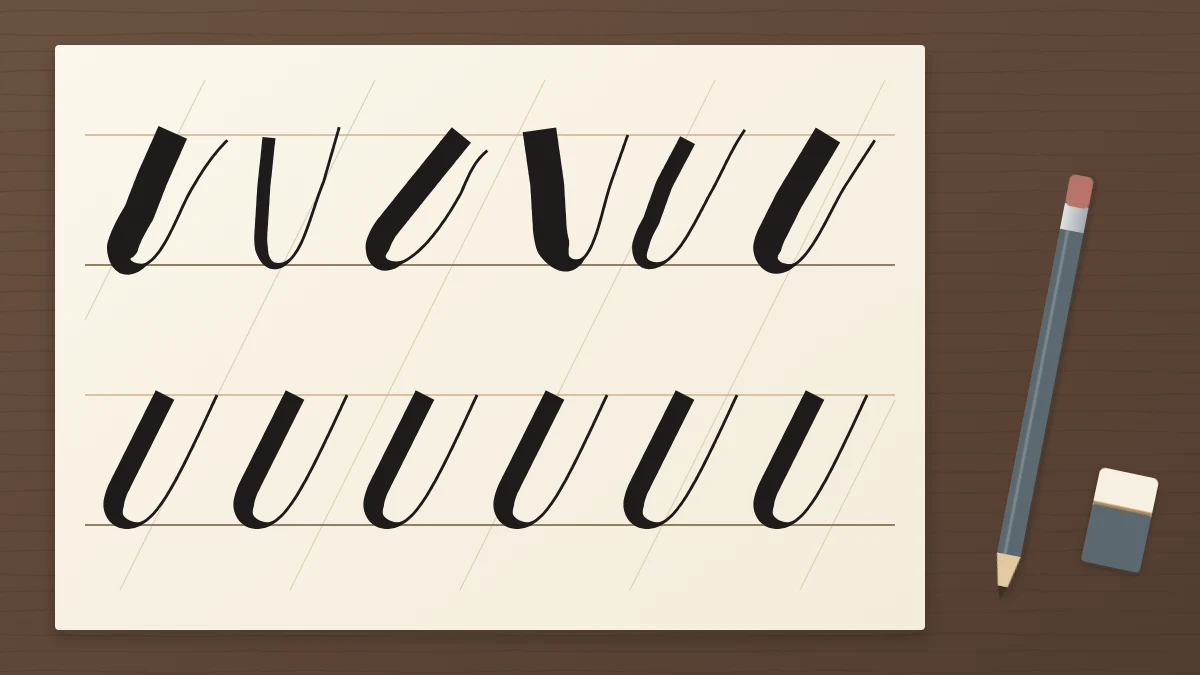
2. Downstrokes of different widths
Likely cause: pressure that changes from one stroke to the next, often because you are watching the shape and not the weight.
Try this: write a row of straight downstrokes and count slowly through each one, aiming for the same feeling in your hand every time. Then compare the widths across the row and adjust.
3. Abrupt pressure changes
Likely cause: switching from light to heavy all at once at the turn. This leaves blobs, corners or sudden steps where the line should swell gradually.
Try this: begin easing off before the bottom of a downstroke and add pressure gently after the top of a curve. The guide to controlling pen pressure has exercises for smooth transitions.
Consistency: slant and spacing
4. Inconsistent slant
Likely cause: no slant lines on the page, or a hand that drifts across the paper while the sheet stays still. Letters lean a little more as the line goes on.
Try this: rule slant lines in pencil and match every downstroke to them. Move the paper along as you write, so your hand stays in its easiest position. See how to keep your letters leaning the same way for more.
5. Uneven spacing
Likely cause: placing each letter by habit without looking at the gap it leaves. Some pairs crowd together while others drift apart.
Try this: look at the white shapes between letters, not at the letters themselves, and aim to make those shapes look similar in area. The article on spacing letters evenly explains how to judge it by eye.
Letter shapes: ovals and joined-up writing
6. Ovals that are flat or pointed
Likely cause: the oval is the hardest basic stroke, because pressure and direction change at the same moment. Rushing the turns gives a pointed top, a flat side or a shape that does not close.
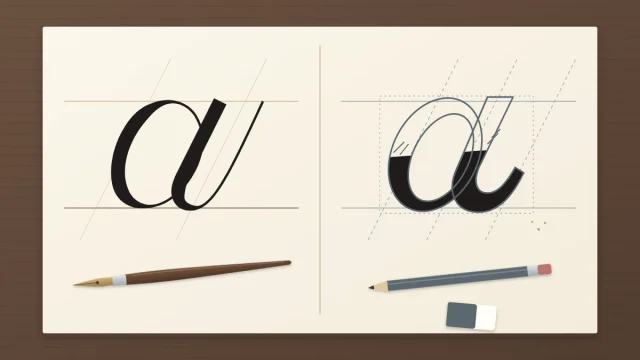
Try this: practice it larger than usual and slowly. You can sketch a few light pencil ovals first to feel the path. Begin at about the two o’clock position, curve up and to the left, add pressure down the left side, release through the base and close with a hairline.
7. Writing letters in one continuous motion
Likely cause: the cursive habit from everyday handwriting, where the pen stays on the paper through a whole word.
Try this: lift the pen after every stroke. A lowercase a is an oval, a lift, then an underturn. Pausing between strokes gives you a moment to reset pressure and aim the next one. Of all the changes on this list, this one often makes the biggest visible difference.
Setup: guidelines and paper
8. Skipping guidelines
Likely cause: wanting to get straight to writing. Without lines, letter height wanders, the baseline rises or sinks, and it becomes hard to tell what went wrong.
Try this: rule a baseline, a waistline, an ascender line and a descender line in pencil before each session, plus a few slant lines. Ruling several sheets at once saves time later.
9. Paper that feathers
Likely cause: absorbent or rough paper. Ink spreads into the fibers, so strokes look fuzzy at the edges, and a pointed nib may catch on the surface during upstrokes.
Try this: switch to a smoother sheet, such as marker or layout paper, or a heavier smooth printer paper. Test a few strokes before a full session. The guide to choosing paper that does not bleed covers what to look for.
Tip
When a tool suddenly seems to misbehave, change the paper before you blame your hand. A different surface resolves many fuzzy or scratchy lines immediately.
Habits: tension and speed
10. Gripping hard and rushing
Likely cause: concentration turns into tension, and tension turns into speed. A hard grip makes fine control difficult, and fast writing hides the pressure changes that give script its contrast.
Try this: every few rows, put the pen down, open your hand and shake it out. Hold the pen firmly enough to guide it and no more. Write at a pace that feels almost too slow, and say the strokes to yourself as you make them if that helps.
Good to know
Take breaks during practice. If your hand, wrist or shoulder hurts, stop for the day and change your setup before the next session.
A quick reference
| What you see | Likely cause | First thing to try |
|---|---|---|
| Wobbly thin lines | Tight grip, finger-only motion | Relax and move the whole hand |
| Thick strokes vary | Uneven pressure | Rows of counted downstrokes |
| Blobs at the turns | Sudden pressure change | Ease in and out earlier |
| Letters lean differently | No slant lines | Rule slant lines, move the paper |
| Crowded or gappy words | Not watching the gaps | Compare the white spaces |
| Fuzzy edges | Absorbent paper | Use a smoother sheet |
How to work through these
Trying to fix all ten at once usually fixes none of them. A calmer method works better:
- Look at a recent page and choose the single problem that stands out most.
- Spend the focused part of your next few sessions on that one thing.
- Compare a new page with the older one. When the problem has eased, choose the next.
Expect some of these to return when you move on to new letters or a new pen. That is how the skill develops: each stage brings its own version of the same few challenges, and each time they take less effort to settle.
Frequently asked questions
Why are my calligraphy upstrokes so shaky?
Thin lines reveal every small tremor, and they get worse when the grip is tight or the stroke is pushed with the fingers alone at a very slow pace. Loosening your hold, resting the forearm and gliding the whole hand upward a little more quickly usually steadies them over time.
Why does my ink look fuzzy on the paper?
Fuzzy edges, often called feathering, generally come from the paper and not from your technique. Absorbent or rough sheets let ink spread into the fibers. Trying a smoother paper, such as marker or layout paper, is the quickest test. Write a few strokes on it before a full session.
Is it normal for my calligraphy to look bad at first?
Yes. Wobbly lines, uneven thick strokes and inconsistent slant are part of the early stages for nearly everyone, because the hand is learning unfamiliar movements. Working on one problem at a time and keeping dated pages to compare makes the gradual change easier to see.