Pen Pressure in Calligraphy: How to Control Thick and Thin
What pressure does to a nib or brush tip, three pressure levels to practice, and three exercises for smooth transitions and downstrokes that match in width.
Practice at a glance
What you need
- Small-tip brush pen or pointed nib in a holder
- Smooth practice paper
- Pencil and ruler
- Ink if using a nib
- Scrap paper to protect the desk
Knowing that downstrokes are thick and upstrokes are thin is the easy part. The harder part is making the thick strokes behave: the same width each time, clean at the edges, with no wobble in the middle and no blob at the end. That is a question of pen pressure in calligraphy, and it is a skill you can train directly.
This guide looks at what pressure does to the tip, three levels worth practicing, and three exercises that build control. It assumes you already know the basic idea of light upstrokes and heavier downstrokes.
What pressure does to a flexible tip
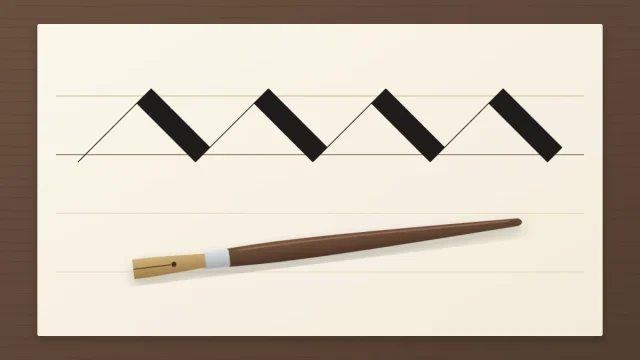
A pointed nib has a slit down its middle that divides the tip into two halves, the tines. When you press, the tines spread apart and ink flows across the gap, so the line is as wide as the opening. When you let go, the tines spring back together and the line returns to a hairline.
A brush pen works differently but with the same result. Light contact puts only the point of the tip on the paper. More pressure bends the tip so its side flattens against the page, and the line widens. The guide to brush pen calligraphy covers how tip size and firmness change the feel.
In both cases the pressure involved is small: a deliberate press, not a hard push.
Three levels to practice
It helps to think of pressure as three settings instead of an on-off switch.
| Level | What the tip does | Where it is used |
|---|---|---|
| Hairline | Only the point touches; tines closed | Upstrokes, entrance and exit strokes, joins |
| Medium | Tip partly open or partly flattened | The middle of a transition; smaller writing |
| Full | Tip comfortably open, well short of its limit | Straight downstrokes and the thick side of curves |
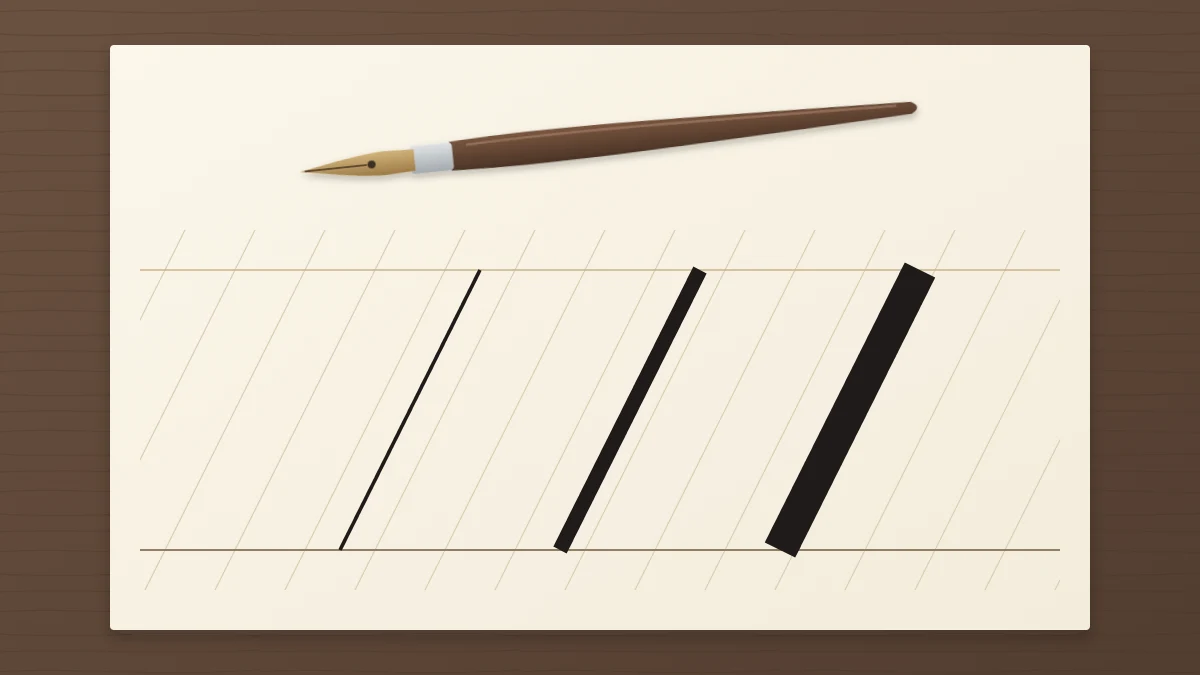
Write three downstrokes side by side, one at each level, and repeat the set across a row. The aim is to find each level on purpose. The medium line is the useful discovery: once you can hold it, you can pass through it smoothly on the way between the other two.
Note that “full” is your chosen working width, not the widest line the tool can make. Staying below the limit gives you a stroke you can repeat and is gentler on the tip.
Gradual transitions, not sudden ones
A pressure change spread over a short distance gives a tapered line. A change made all at once gives a step, a notch or a blob. Almost every curve in a script depends on the tapered kind.
Think of pressing and releasing as something you do while the pen is moving. If the pen stops and then the pressure changes, ink pools at that spot. Keep the motion slow and continuous and let the width follow.
Three exercises for control
Exercise 1: the pressure ladder
Rule guidelines taller than usual, or use the full space between an ascender line and a descender line, so the stroke has room.
- Set the pen down at the top with hairline pressure and begin a slanted stroke toward you.
- Add pressure little by little so the line passes through medium and reaches full width at about the middle.
- Ease off at the same rate through the second half, arriving at the bottom as a hairline again.
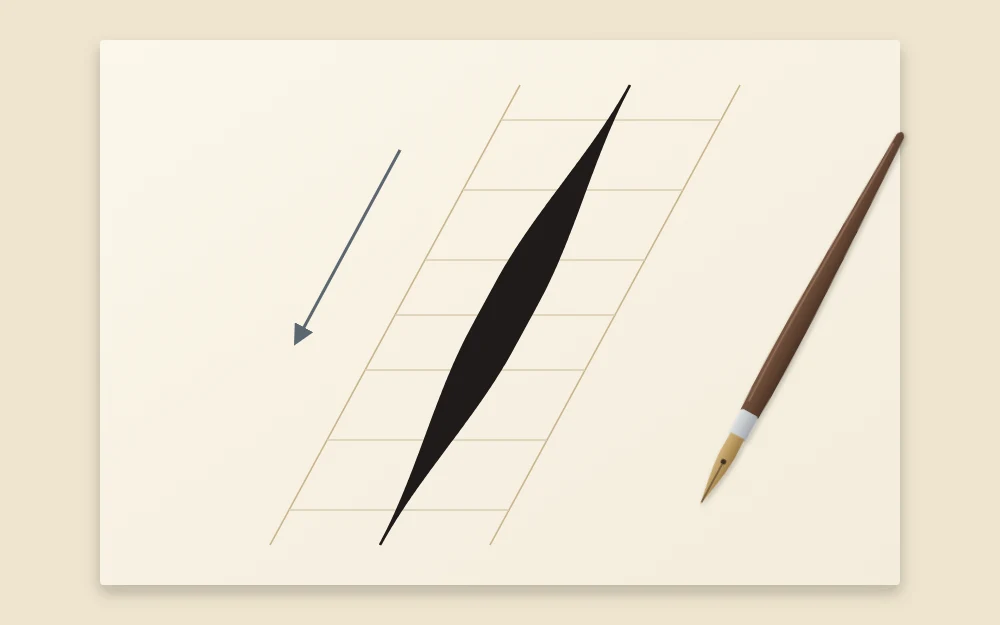
A good ladder is symmetrical, with smooth edges on both sides. If one end is blunt, that is the transition to work on.
Exercise 2: the tapered stroke
Now split the ladder in two. Write a row of downstrokes that start at full pressure and narrow to a hairline at the baseline. Then write a row that starts as a hairline and widens to full pressure at the baseline.
The first row is the release you need at the bottom of an underturn; the second is the build-up after the top of an overturn.
Exercise 3: the squared-top downstroke
A straight downstroke that begins at full width needs a clean, flat start. With a pointed nib, set the point on the top line, press so the tines open before the pen moves, then pull down. With a brush pen, lay the tip down to its full width first, then pull.
Hold the pressure steady to the baseline, stop the pen, and lift straight up. Starting to move before the tip has opened gives a pointed top; lifting while still moving gives a ragged bottom.
Matching every full downstroke
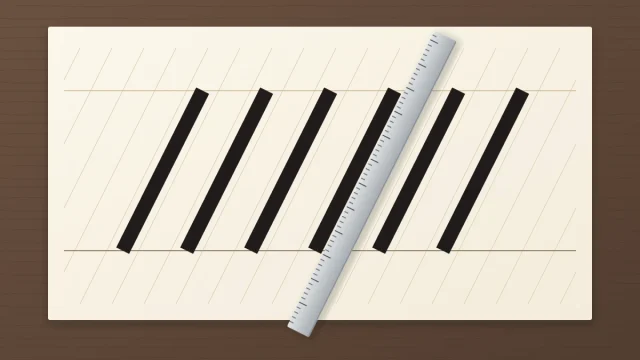
Consistent width does more for a page than dramatic contrast. Write a row of five full downstrokes and compare them. If they vary, reduce your full pressure slightly: a moderate width is easier to repeat than a maximum one.
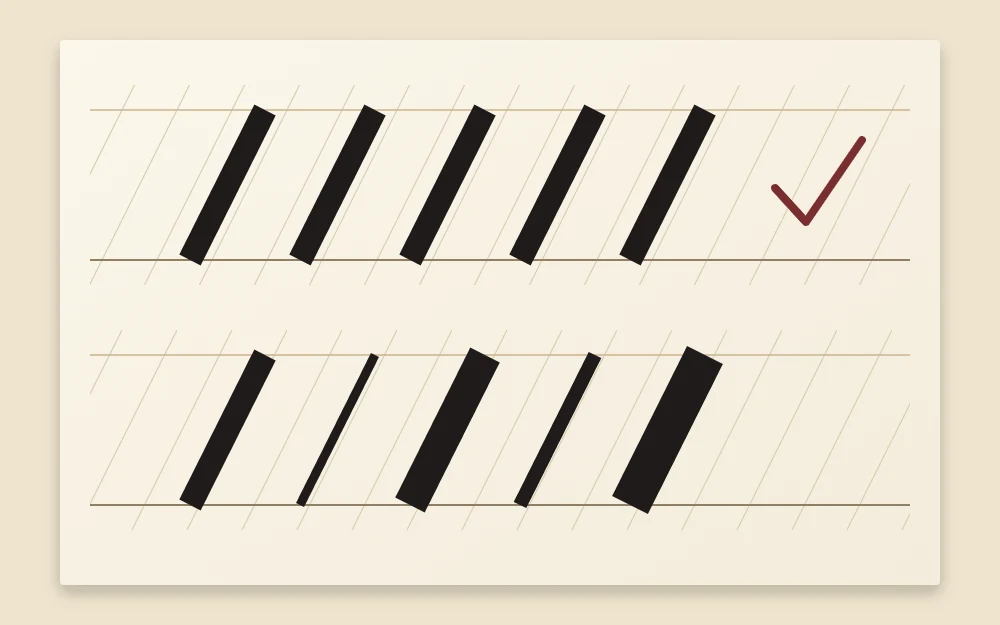
Wobbly edges usually come from the pressure fluttering as the stroke travels. Moving the whole hand down the page, instead of curling the fingers, keeps the pressure steadier. A row of these strokes also makes a good warm-up, and several of the calligraphy drills are built around the same check.
Releasing before the turn
Blobs at the bottom of letters nearly always mean the pressure was held too long. Begin releasing while the pen is still heading down, a little above the baseline, so the tip has closed by the time it changes direction. A pointed nib that turns while its tines are still open can catch and flick ink.
Signs of too much pressure
- Scratching. The nib drags or digs into the paper, especially on curves.
- Splatter. The tines snap shut suddenly or catch a fiber and throw small dots of ink.
- Railroading. The downstroke splits into two thin parallel lines because the tines have opened wider than the ink can bridge.
- A splayed brush tip. The tip stays fanned out or bent after you lift and no longer comes to a point.
- Dents in the paper that you can feel on the back of the sheet.
How to back off
Drop to your medium level and treat that as full for a session. Loosen your grip, since a tight hold tends to push down without your noticing. Slow the stroke, and with a nib, dip again a little sooner so the ink does not run thin.
Good to know
A nib point is sharp, and one that has caught the paper can spray ink. Protect the desk and your clothing, because ink can stain permanently. If your hand aches from pressing, stop, rest, and change your setup before continuing.
Frequently asked questions
How hard should I press with a calligraphy pen?
Less than most beginners expect. Press only until the tip opens to a width you can repeat comfortably, well short of its limit. If the nib scratches, the paper dents or a brush tip stays bent after you lift, that is more pressure than the tool needs.
Why are my downstrokes different widths?
Usually because full pressure is set too close to the tool's maximum, where small changes in force make large changes in width. Choosing a slightly gentler full pressure, moving the whole hand instead of the fingers and slowing down tend to even the strokes out.
Does pressure matter with a broad-edge pen?
Much less. A broad-edge pen gets its thick and thin lines from the angle of its flat edge, so it is written with light, even contact throughout. The pressure control described here applies to flexible tools: pointed nibs and brush pens.