A Calligraphy Practice Routine You Can Keep Up
A flexible four-part session shape for calligraphy practice: warm up, focus on one skill, write a few words, then review. Includes a suggested order of skills for your first weeks.
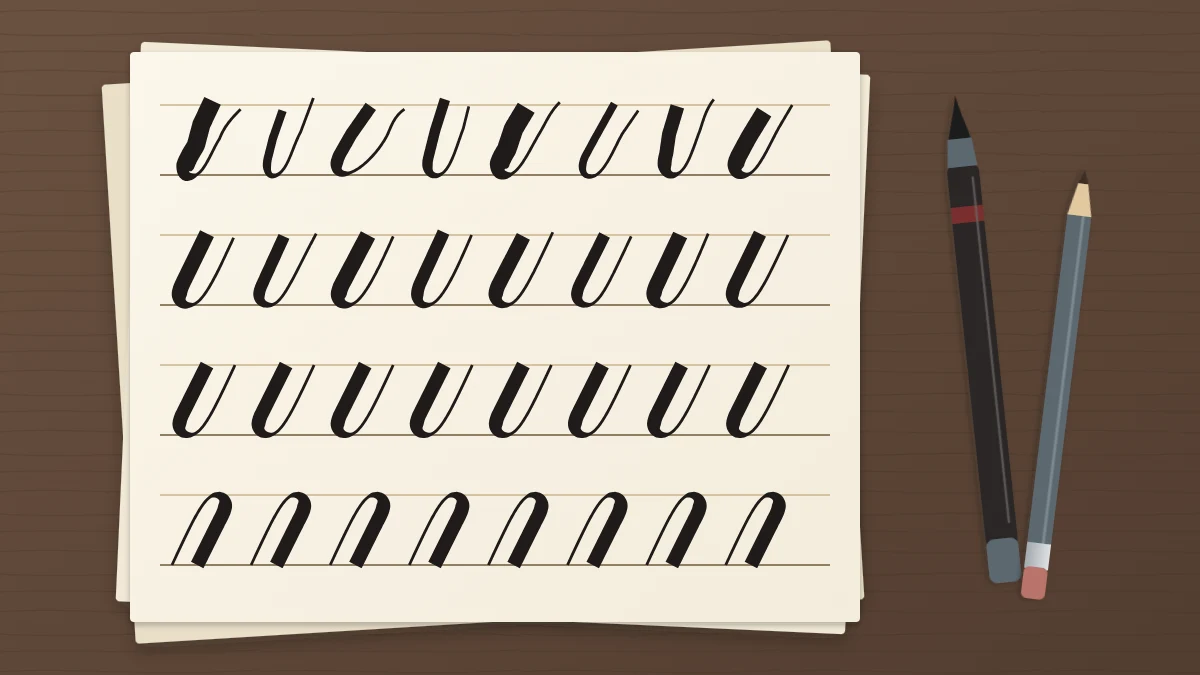
Practice often happens in bursts. A free Sunday afternoon turns into two hours at the desk, then the pen stays capped for ten days. Each return feels like starting over, and the pages pile up without seeming to lead anywhere.
A calligraphy practice routine does not need to be a strict timetable. What helps more is giving every session the same simple shape, so you always know what to do when you sit down, and choosing a length you can repeat on an ordinary weekday.
Why short and regular tends to work
Calligraphy is a movement skill. Your hand is learning how much pressure makes a thick downstroke, how lightly to travel on an upstroke, and how to repeat a shape at the same height and slant. That kind of learning generally responds better to frequent repetition than to rare long efforts.
Long sessions also have a hidden cost. Attention fades, the grip tightens, and the last rows on the page are often worse than the first. Stopping while your strokes are still good leaves you with a cleaner page and a better memory of how it felt.
As a starting point, something like 15 to 20 minutes on three or four days a week is realistic for many people. Treat that as a suggestion and fit it to your own week.
A session in four parts
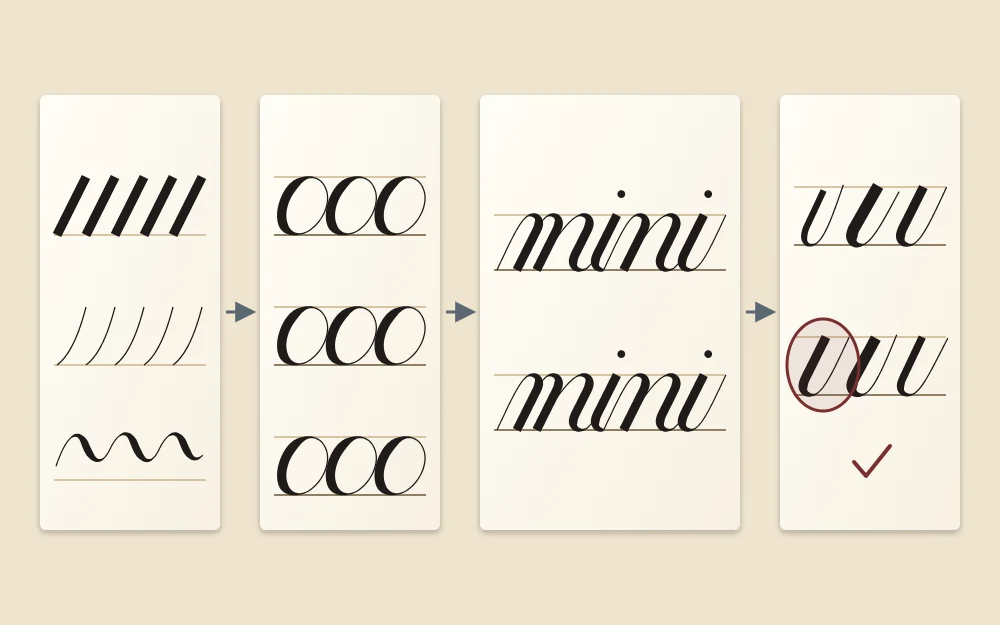
Each session moves through four stages: warm up, focus, apply, review. The proportions below assume about 20 minutes, and they stretch or shrink easily.
1. Warm up (about 3 minutes)
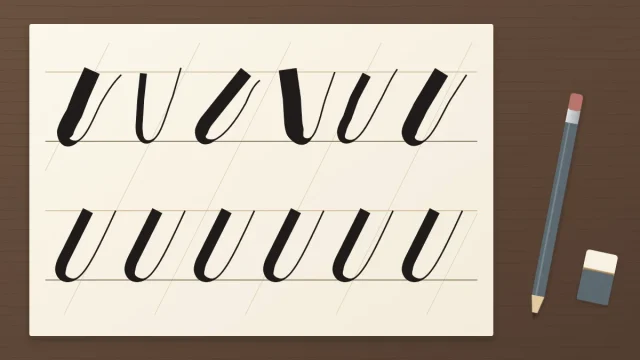
Begin with easy lines that carry no expectations: a row of light upstrokes, a row of thick downstrokes, a few connected loops. The purpose is to loosen your hand and check that the pen and paper are behaving. A set of warm-up drills gives you several to rotate through.
2. One focused skill (about 10 minutes)
This is the core of the session. Choose a single thing: one stroke, such as the oval, or one group of letters that share a shape. Write a row, pause, look at it, and decide what to adjust before writing the next row.
Keeping to one skill is what makes practice lead somewhere. A page with a little of everything feels busy but gives you nothing to compare. A page of one shape shows you clearly whether row five is steadier than row one.
3. A little application (about 5 minutes)
Use the skill in a few real words. If you worked on underturns, try words such as “until”, “tulip” or “will”. If you worked on ovals, try “good”, “cocoa” or “dada”. Three or four words, written slowly, are plenty.
4. Quick review (about 2 minutes)
Before you put the pen down, look over the page with a pencil in hand.
- Circle your best attempt of the session, a single stroke, letter or word.
- Ask what makes it better than the others around it.
- Write one short note about what to change next time, such as “less pressure on upstrokes” or “ovals too narrow”.
Limit yourself to one note. A list of six faults is discouraging and impossible to act on. One clear aim gives your next session a starting point. If you are not sure what is going wrong, the guide to common beginner problems and their fixes can help you put a name to it.
Tip
Read the note from your last session before you warm up. It takes a few seconds and turns separate sessions into a connected sequence.
Date your pages and keep them
Write the date in a corner of every sheet, along with the pen you used. Then keep the sheets in a folder or a box, in order.
Improvement in calligraphy is slow enough that it is hard to notice from one day to the next. Placing today’s page beside one from a month ago is often the first time progress becomes visible. It is also useful evidence on days when a session goes badly, which happens to everyone.
One page per session is enough to build a record.
A suggested order of skills
A routine works best when you know what the focused part should cover next. The order below is a common one for pressure-based script with a brush pen or pointed nib. Move on when a stage feels reasonably steady, not after a set number of days.
- Thin and thick lines. Upstrokes and downstrokes on their own, until the contrast is clear and fairly consistent.
- The basic strokes. Work through the eight basic strokes one at a time, giving each its own sessions.
- Lowercase letters in groups. Learn lowercase letters by stroke group, so each new letter builds on a shape you already know.
- Connections and short words. Join letters and pay attention to the space between them.
- Uppercase letters, names and phrases. Add capitals once lowercase feels comfortable, then write short lines of your own.
Some stages pass quickly and others, ovals and loops in particular, need many sessions. Going back to an earlier stage for a week is normal.
Fitting practice into a real week
The routine has to survive busy days, so it helps to plan for them.
- A five-minute version. On a crowded day, do the warm-up and one row of your current stroke. Keeping the habit alive matters more than the length.
- A longer weekend session. If you have more time, extend the focused part or add a second skill, and take a short break in the middle.
- A ready setup. Keep your pen, pencil, ruler and a few pre-ruled sheets together in one place. Ruling several pages at once saves time on practice days.
- A fixed cue. Attaching practice to something you already do, such as a morning coffee, makes it easier to begin.
If you miss several days, pick up where you left off.
When the routine stops working
Boredom and frustration are signals to adjust, not reasons to quit. If a stroke has stopped improving, switch the focused part to a different one for a few sessions and return later. If sessions feel like a chore, shorten them. If you rush, write fewer rows and spend longer looking at each one.
Take breaks, keep your grip relaxed, and stop for the day if your hand feels tired or sore. The shape of the session matters more than any single detail in it: warm up, focus, apply, review, and come back again soon.
Frequently asked questions
How long should a calligraphy practice session be?
A common starting point is about 15 to 20 minutes, which is long enough to warm up, work on one skill and write a few words while your attention is still fresh. Shorter sessions are worthwhile too. Choose a length you can repeat several times a week and adjust it as you go.
Should I practice calligraphy every day?
Daily practice is not required. Regular sessions spaced through the week generally serve beginners better than one long sitting, but three or four days is a perfectly reasonable rhythm. Rest days are fine, and a missed week only means a slightly longer warm-up when you return.
What should I practice first as a calligraphy beginner?
Start with thin upstrokes and thick downstrokes, then the basic strokes one at a time. After that, move to lowercase letters grouped by shared shape, and then short words. Give each stage as many sessions as it needs before moving on, and revisit earlier stages whenever they feel shaky.