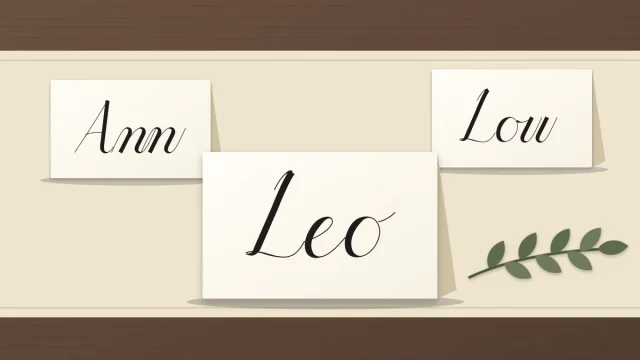
Holiday Card Calligraphy: Simple Greetings for Handmade Cards
Write a one- or two-word greeting on a handmade card: test the card, rule light pencil lines, center the draft, ink it, and add a sprig, stars or a stroke border.

Practice at a glance
What you need
- Smooth card stock
- Pencil and ruler
- Soft eraser
- Scrap paper and card offcuts
- Small-tip brush pen or pointed nib with holder and ink
A handmade card does not need a long message on the front. One or two words, written with care and placed well, look better than a full sentence squeezed into the space. That makes holiday card calligraphy a friendly project for beginners: the writing is short, and most of the work is in the preparation.
The steps below take a blank piece of card to a finished greeting, with a few simple decorations made from strokes you already know. They suit a winter holiday and any other seasonal occasion through the year.
Choose a greeting you can write well
Pick words made of letters you are comfortable with. A short greeting gives you room to write at a relaxed size and leaves plenty of white space around it. Compose your own wording; plain and warm is enough.
| Season | One word | Two or three words |
|---|---|---|
| Winter | joy, peace | warm wishes, cozy days |
| New year | onward | bright new year |
| Spring | bloom | hello spring, new leaves |
| Summer | sunshine | long sunny days |
| Autumn | thankful | happy harvest |
| Any time | hello | with love, thinking of you |
Greetings like these are close cousins of the short practice phrases for beginners, so a few minutes with those is a good rehearsal.
Pick card that takes your pen
Card stock varies a great deal. A smooth, firm surface lets a nib glide and keeps brush-pen tips in good shape, while textured or soft card can catch a nib and make ink feather. The guide to choosing paper that does not bleed explains what to look for.
A sheet 7 x 10 in (about 17.8 x 25.4 cm) folds in half to a card 5 x 7 in (about 12.7 x 17.8 cm). Score the fold first by running the back of a butter knife along a ruler, then fold along the scored line for a clean edge.
Keep the offcuts. Before you touch the real card, write a thick downstroke and a hairline on a strip of the same stock. Check for fuzzy edges, let it dry, and erase a pencil line beside it to see how the surface holds up.
Rule light guidelines
Work on the card front while it lies flat and unfolded, so the fold does not rock under your hand. Use a sharp pencil and almost no pressure, since every line will be erased later.
- Draw a faint vertical center line. On a front 5 in wide, it sits 2.5 in from either edge.
- Rule a baseline where you want the greeting to sit. Slightly above the middle of the card usually looks balanced, especially if a decoration will go below.
- Rule a waistline above it at your x-height. Around 7 mm (a little over 1/4 in) suits a small-tip brush pen or pointed nib on a card this size.
- For two lines, add a second baseline. A distance of four x-heights between baselines, 28 mm here, keeps descenders and ascenders apart.
Draft and center the greeting
Write the greeting in pencil on scrap paper at the same x-height and measure it. Halve the length to find how far the word extends on each side of the center line.
Suppose “joy” measures 1.5 in. It extends 0.75 in to each side of the center, so on the 5 in front it begins 1.75 in from the left edge and ends 1.75 in from the right. Mark both points on the baseline, then pencil the word lightly between them.
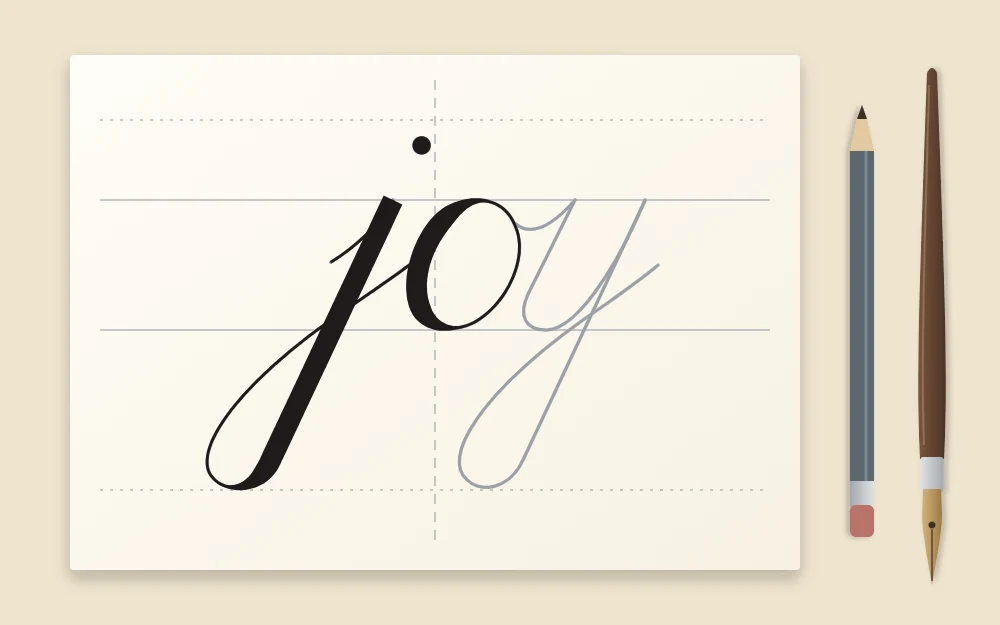
Stand the card up and look at it from a little distance. If it sits too low or drifts sideways, erase and move it now. For two-line greetings, center each line separately, as described in the guide to centering, margins and line breaks.
Ink the greeting
Warm up on scrap paper, then write the greeting once on your test strip with the pen you plan to use. When the strokes feel steady, move to the card.
Write at your practice pace, lifting between strokes. Follow the pencil for position, but form each letter the way you normally do instead of filling in the pencil shapes. If the greeting has two lines, ink the upper one first so your hand stays clear of wet strokes.
Good to know
With a dip pen, cover the desk and wear clothes you do not mind marking, because ink can stain permanently. Keep the bottle capped between dips, on a stable surface, and out of reach of children and pets.
Add a simple seasonal touch
Decorations work best when they are written with the same pen and the same strokes as the letters. They then share the weight and rhythm of the greeting and do not compete with it.
- A sprig: one long, gently curved hairline for the stem, then short downstrokes on either side that start thin, swell and taper. Each leaf is a single stroke.
- Small stars: three short hairlines crossing at one point. Scatter three or five of them at different sizes above the greeting.
- A stroke border: a row of underturns, or of small ovals, running along the bottom of the card between two pencil lines.
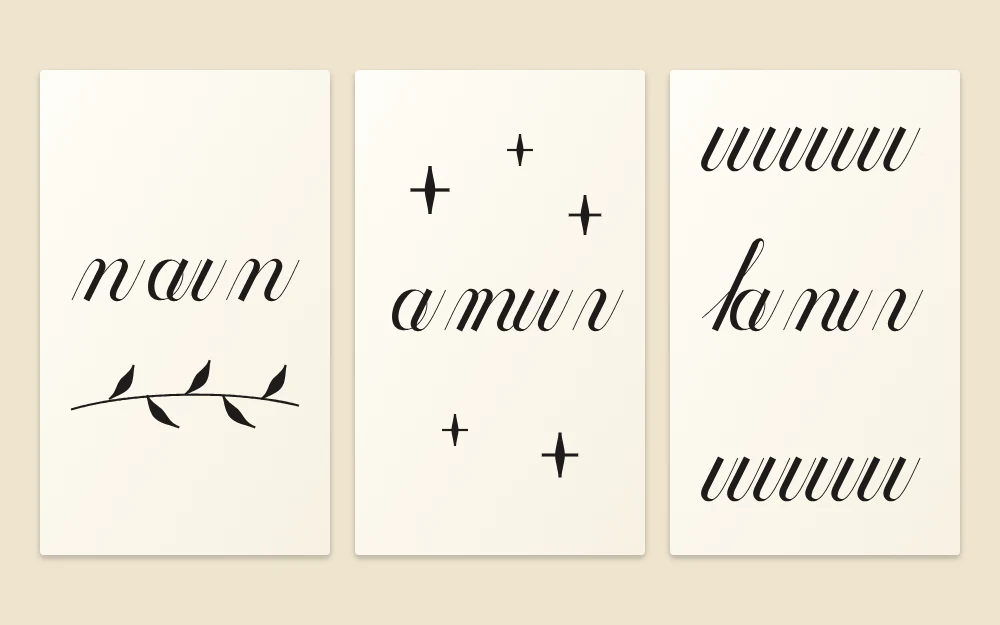
Choose one idea per card and pencil its position before inking. A sprig centered under the greeting, about as wide as the word itself, is hard to get wrong. Leave clear space between the decoration and the lowest descender.
Let it dry, then erase
Leave the card flat until the ink is completely dry. Thick strokes on smooth card can stay wet for a long time, so waiting an hour or more is sensible, and overnight is safer still. Test on your offcut first: if a stroke made at the same time smears under the eraser, the card is not ready.
Erase gently with a soft eraser, then fold along the scored line.
Tip
Cut one more card than you need. Use the spare for a full rehearsal of greeting and decoration, and keep it nearby as a reference while you write the real ones.
When you want more than a word or two
If the front of your card calls for a longer line, such as a short wish of your own across three or four lines, treat it as a small layout project. The worked example on laying out a short quote shows how to choose a key word, break the lines and size them so the card still has room to breathe.
Frequently asked questions
What should I write on the front of a handmade holiday card?
Keep it to one or two words in your own wording, such as a single warm word or a brief wish. Short greetings can be written at a comfortable size with generous space around them. Longer, personal messages fit better inside the card, where there is more room.
Can I use a brush pen instead of a dip pen on card stock?
Yes. A small-tip brush pen is a convenient choice for cards because there is no bottle to manage. Test it on an offcut of the same card first, since rough or very absorbent surfaces can wear the tip and soften the edges of the strokes.
How do I fix a mistake on a card I have already inked?
On most card, ink cannot be removed cleanly, and scraping or covering it usually shows. It is quicker to start again on a fresh card, which is why cutting a spare or two at the beginning is worthwhile. Keep the spoiled card for testing pens and drying times.