Calligraphy for Beginners: Where to Start
A plain orientation for your first weeks of calligraphy: what the craft is, which tool to pick, and why strokes come before letters and letters before words.
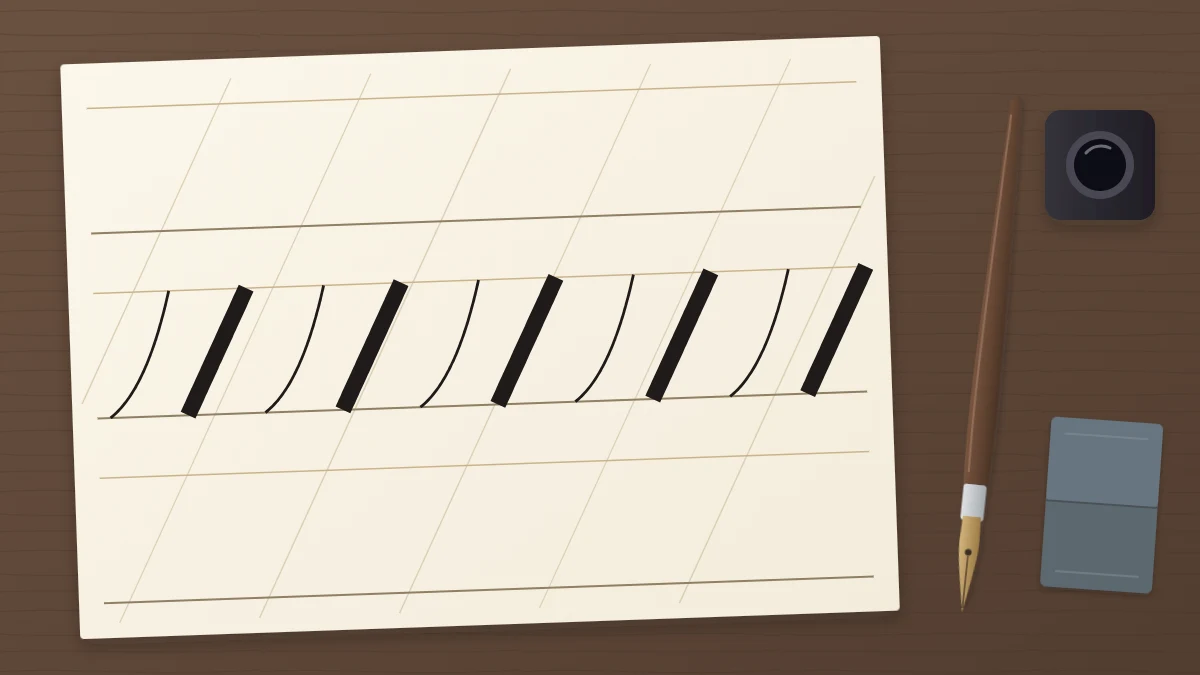
Most people arrive at calligraphy the same way: they see a line of script with graceful thick and thin strokes, buy a pen, write a word, and get something that looks like ordinary handwriting in darker ink. That gap is normal, and it has a simple cause. Calligraphy is not neater handwriting. It is a different way of moving the pen.
This guide to calligraphy for beginners is an orientation. It explains what the craft actually is, lays out a sensible order for learning it, and points you to the detailed guide for each step so you always know what to work on next.
What calligraphy actually is
Calligraphy is writing letters with a tool that makes thick and thin lines in a single pass. You do not go back and thicken anything. Each stroke is made once, and the contrast is already in it when the pen leaves the paper.
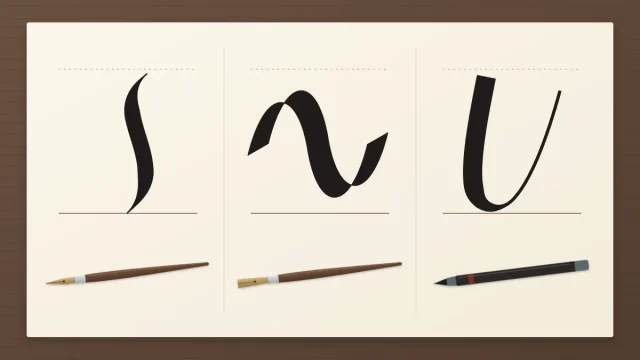
That contrast comes from one of two sources, depending on the tool:
- Pressure. A pointed nib or a brush pen has a flexible tip. Press a little harder on the way down and the line widens into a thick downstroke. Lighten up on the way up and you get a thin upstroke, often called a hairline.
- Angle. A broad-edge pen has a flat tip, like a tiny chisel. You keep the edge at a steady pen angle to the baseline, and the line becomes wide or narrow depending on the direction you move.
If the examples that caught your eye were sketched in pencil, outlined and filled in, you were looking at a related but separate craft. The article on how calligraphy differs from hand lettering sorts out the two so you can be sure which one you want to learn.
Pick one tool and stay with it for a while
Beginners often buy several pens and rotate between them. Each tool responds differently, so every switch resets your hand. Choosing one and staying with it for your first weeks makes practice far less confusing.
There are three common starting points:
- A small-tip brush pen. No ink bottle and no setup. The firm tip is forgiving, which makes it a popular first choice for script based on pressure.
- A pointed nib in a holder. The traditional dip pen gives the finest hairlines and the most contrast. It asks for more patience, because you also learn to load ink and manage a sharp, springy point.
- A broad-edge pen. The right choice if you are drawn to upright or italic styles with ribbon-like strokes.
Beyond the pen you need very little: smooth paper, a pencil and a ruler. The beginner starter kit guide covers what is worth having on day one and what can wait.
Good to know
If you start with a dip pen, remember that nib points are sharp, so handle a nib by its base. Ink can stain permanently, so cover the desk, wear old clothes, and keep the bottle capped, stable and out of reach of children and pets.
Learn strokes before letters
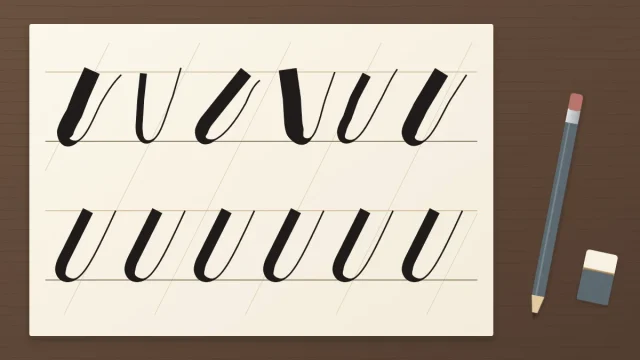
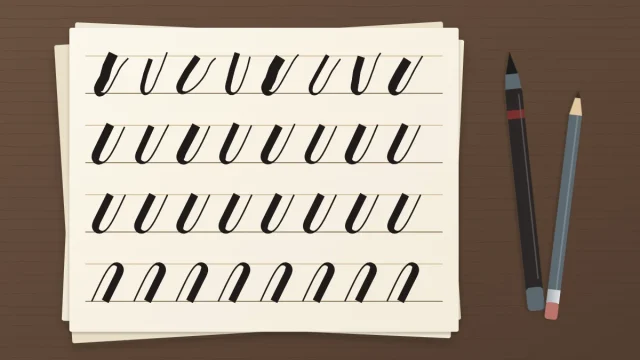
This is the step most people skip, and it is the one that changes everything. Script letters are not written in one continuous motion. They are assembled from a small set of repeated shapes, with the pen lifting between them.
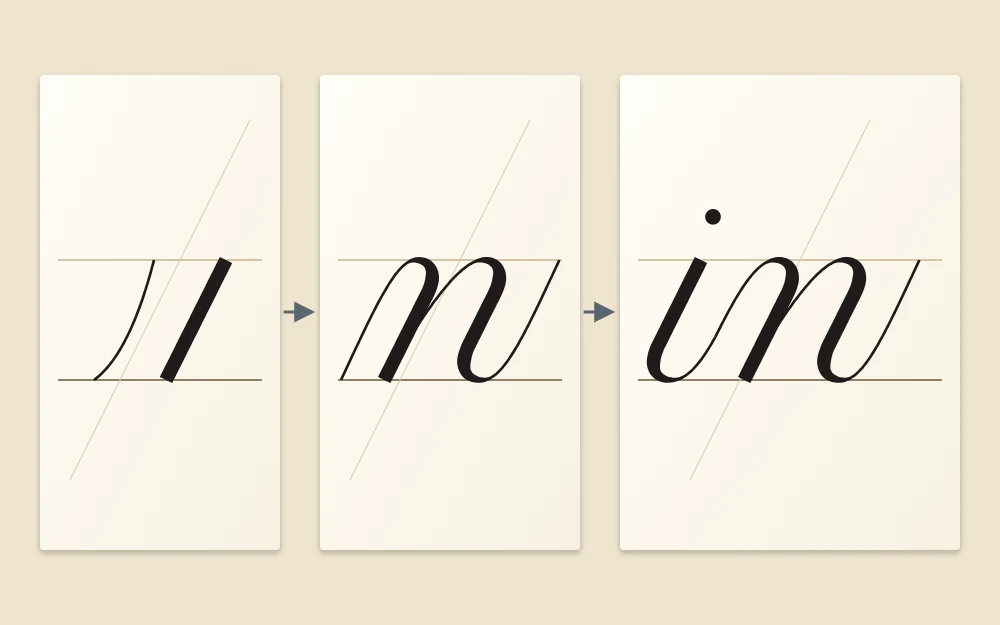
For pointed pen and brush pen script there are eight of these shapes: the entrance stroke, downstroke, underturn, overturn, compound curve, oval, ascending loop and descending loop. A lowercase n, for example, is an overturn followed by a compound curve. Once your hand knows those two shapes, the letter is mostly done.
So before you write any alphabet, spend your early sessions on the eight basic strokes. Rows of a single shape train exactly what letters depend on: even pressure, a steady slant and consistent height.
Move to lowercase letters in groups
When the strokes feel familiar, start on lowercase letters. Working from a to z is not the easiest route. Letters that share a stroke are easier to learn together, because each one reinforces the others.
A common grouping looks like this:
- Underturn letters such as i, u, t and w
- Overturn and compound curve letters such as n, m, h and v
- Oval letters such as a, o, c, d, g and q
- Loop letters such as l, b, k, j and y
Uppercase letters come later. They appear far less often in a line of writing, and they borrow the control you build with lowercase shapes.
Then write words
Words bring in two new skills: connecting one letter to the next, and keeping the spaces between letters even. Start with short words made from the groups you already know, such as “in”, “mint”, “moon” or “lull”.
Write slowly and lift the pen between strokes, just as you did in drills.
What the first few weeks tend to look like
Progress in calligraphy is uneven, and everyone moves at a different pace. Still, the early stages follow a recognizable pattern:
- Early sessions. Lines wobble, thick strokes vary in width, and the pen feels awkward. You are learning how much pressure the tool wants.
- A little later. Single strokes start to look alike within a row. Hairlines get thinner. You begin to notice slant and height without measuring.
- After that. Letters appear, and with them a new round of small problems: uneven ovals, cramped spacing, joins that do not meet. This is a normal stage, not a step backward.
There is no deadline for any of these stages. Dating your pages and looking back every couple of weeks is the most honest measure you have.
Keep practice short and regular
Short, frequent sessions tend to help more than an occasional long one. Something like 15 to 20 minutes, a few times a week, is a reasonable place to begin, and you can adjust it to your schedule.
A session works well with a simple shape: warm up, focus on one stroke or letter group, write a few words, then look over the page. The guide to building a practice routine you can keep up lays this out in detail.
Tip
Rule your guidelines with a pencil before every session. An x-height of about 5 to 7 mm (roughly 3/16 to 1/4 in) suits a small brush pen or pointed nib, and working inside lines makes mistakes much easier to see.
You can adapt any part of this path. The one idea worth holding onto is the order: one tool, then strokes, then letters, then words.
Frequently asked questions
Do I need good handwriting to learn calligraphy?
No. Calligraphy uses a different motion from everyday handwriting: slow, separate strokes with the pen lifting between them. People with untidy handwriting learn it just as well, because the shapes are built from scratch through stroke practice rather than borrowed from the way you already write.
Which pen is easiest for a complete beginner?
Many beginners find a small-tip brush pen the simplest start, since it needs no ink bottle and its firm tip is easy to control. A pointed dip pen or a broad-edge pen is also a fine first tool if that is the style you want. Whichever you choose, staying with one for a while helps.
How long does it take to learn calligraphy?
There is no fixed timeline. It depends on how often you practice, which tool you use and what you count as learned. Most people see their basic strokes become steadier with regular short sessions, and letters follow from there. Keeping dated practice pages lets you judge your own pace.