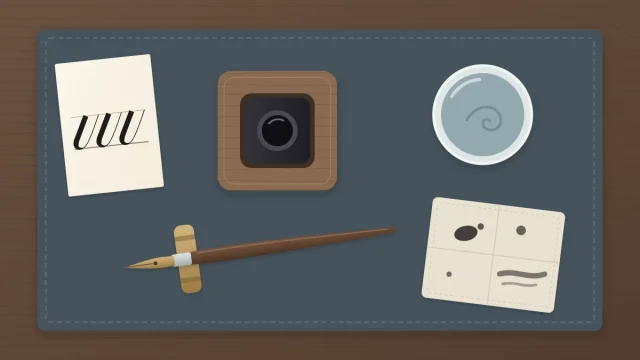
Calligraphy Tools for Beginners: A Simple Starter Kit
Two short starter kits, one built around a brush pen and one around a pointed dip pen, with what each item does, how to judge tools by type, and what can wait until later.
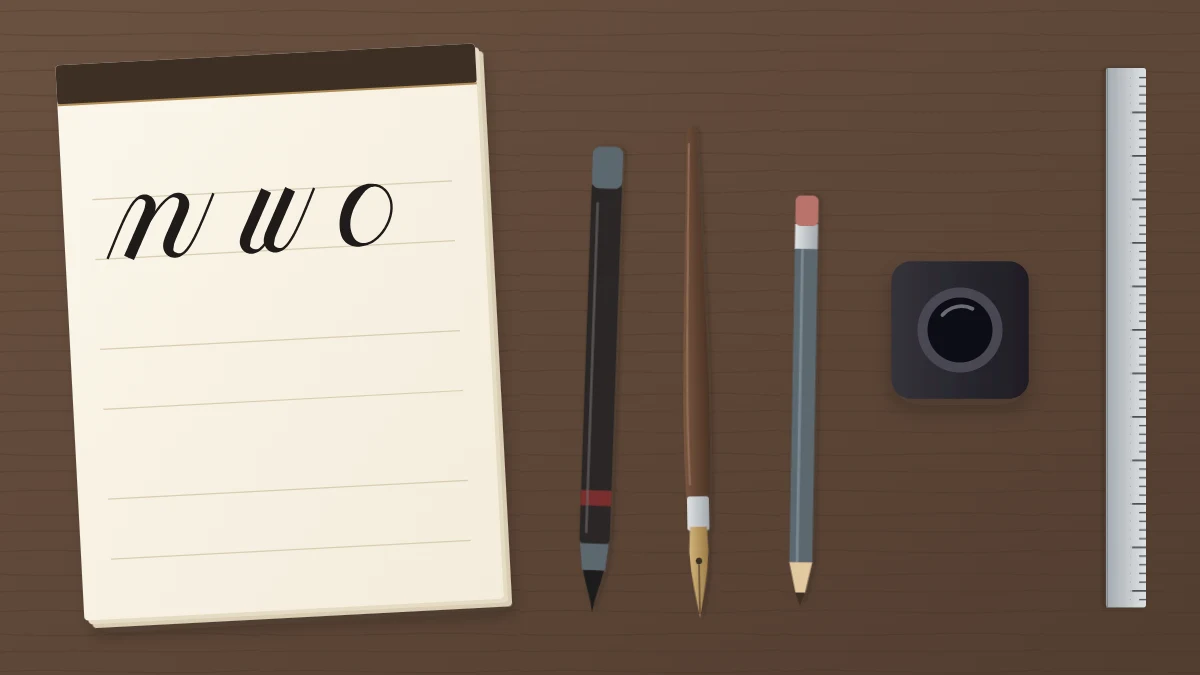
A first calligraphy kit can fit in a pencil case. The long shopping lists you may have seen are mostly things that become useful later, once you know which style you enjoy and what your own hand needs.
The calligraphy tools for beginners described here fall into two short routes: one built around a brush pen and one built around a pointed dip pen. Either is a sound place to start.Everything is described by type, so you can recognize a suitable tool wherever you shop or already have one in a drawer.
Two starter routes at a glance
Both routes teach the same core skill: a thin upstroke made with a light touch and a thick downstroke made with more pressure. They differ in setup, mess and how fine the thin lines can get.
| Route | What you gather | Setup | Suits you if |
|---|---|---|---|
| Brush pen | Small-tip brush pen, smooth paper, pencil, ruler | Uncap and write | You want short sessions with nothing to wash |
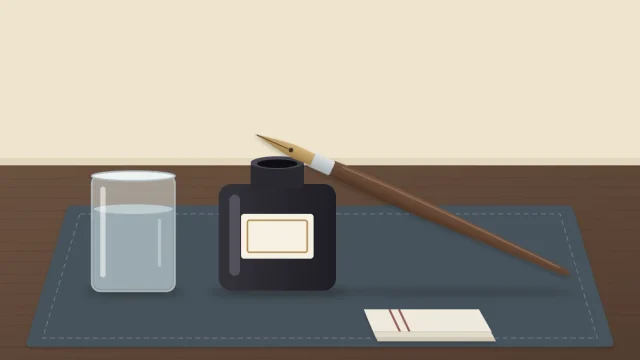
| Pointed dip pen | Pointed nib, straight holder, small bottle of ink, smooth paper, water jar, lint-free cloth, pencil, ruler | A few minutes to lay out and tidy away | You want fine hairlines and do not mind some cleanup |
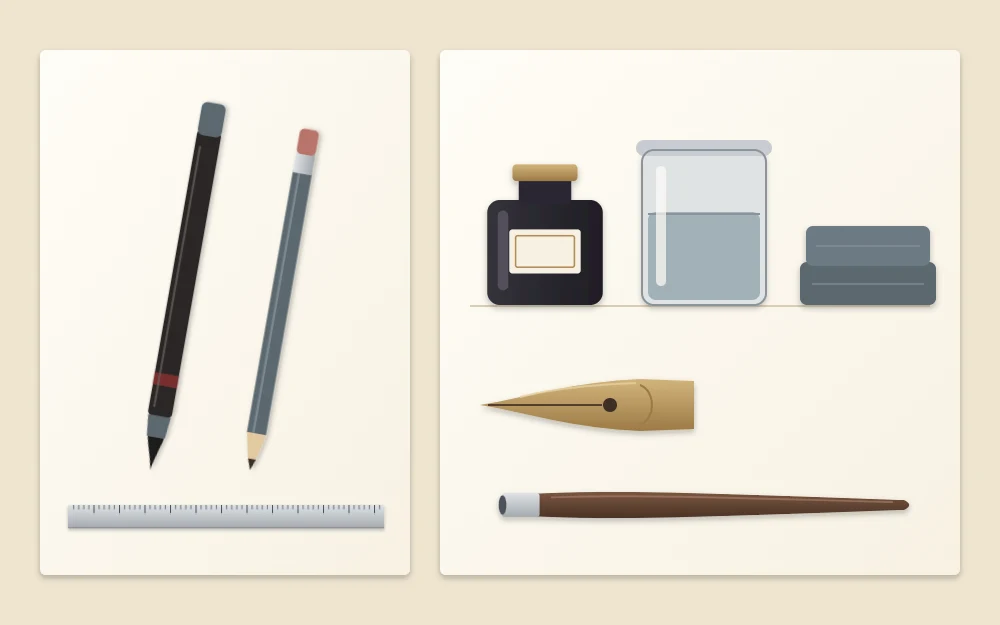
Route one: the brush pen kit
This is the shortest list, and it is enough to learn every basic stroke.
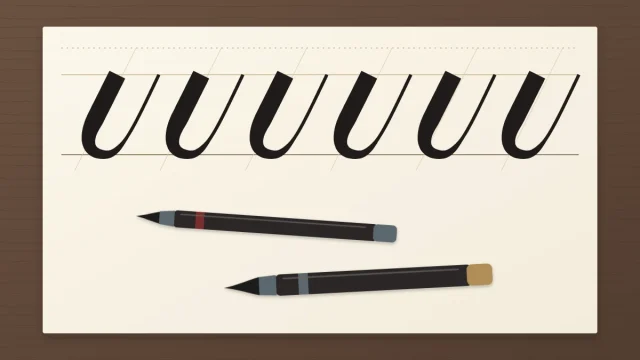
- A small-tip brush pen. The flexible tip spreads under pressure and springs back when you ease off. A small, fairly firm tip is easier to control at beginner letter sizes than a large, soft one.
- Smooth paper. A slick surface lets the tip glide and slows down fraying. Rough paper wears a felt tip quickly.
- A pencil. For ruling guidelines and for sketching the layout of a word before you write it in ink.
- A ruler. A clear one is handy because you can see the lines you have already drawn.
The guide to getting started with a brush pen covers tip sizes, the low holding angle and first exercises in detail.
Route two: the pointed pen kit
The dip pen route has more parts, and each has one clear job.
- A pointed nib. A metal nib whose two tines open under pressure to make a thick line and close again for a hairline. For a first nib, look for one described as medium-firm or suited to beginners; very flexible nibs catch the paper more easily.
- A straight holder. A plain handle with a ring or slot that grips the base of the nib. Choose a thickness that sits comfortably in your fingers.
- A small bottle of ink. A beginner-friendly ink is one that flows steadily from a dip nib and rinses out with water.
- Smooth paper. Even more important here, because a sharp nib snags on fibers and wet ink spreads into absorbent sheets.
- A water jar. A short, heavy jar that will not tip, for rinsing the nib.
- A lint-free cloth. For wiping and drying the nib. Fluffy tissue leaves fibers between the tines.
Setting all of this up is explained step by step in the introduction to nibs, holders and first dips.
Good to know
Nib points are sharp, so pick a nib up by its base. Ink can stain desks, floors and clothing permanently: cover your work surface and wear something old. Keep the bottle capped when you are not dipping, and store it out of reach of children and pets.
What each item actually does
It helps to think of the kit as three jobs. Something makes the mark (the brush pen, or the nib with its holder and ink). Something receives the mark (the paper). And something keeps the writing even (the pencil and ruler, which give you a baseline, a waistline and slant lines to follow).
Beginners often spend on the first job and neglect the other two. In practice, paper causes more early frustration than pens do. Fuzzy edges, ink soaking through and frayed tips usually trace back to the sheet, so it is worth reading about choosing paper that does not bleed before buying a large pad.
Ink is the other variable in the dip pen route. Inks behave differently on a nib, and the bottle tells you a good deal about what to expect. The article on handling, dipping and cleaning up ink explains the main families and what to read before you open one.
How to judge a tool by type
Names on packaging change from shop to shop, so descriptions are more reliable. A few questions sort most tools quickly:
- Brush pen: Is the tip small or large? Is it described as firm or soft? Does the tip come back to a point after you press it gently?
- Nib: Is it pointed (for pressure-based scripts) or broad-edge (a flat tip for angle-based scripts)? Is it described as firm, medium or very flexible?
- Holder: Does the nib you chose fit it? Most straight holders accept common nib sizes, but very small nibs need a matching holder.
- Ink: Is it meant for dip pens? What does the label say about cleaning?
- Paper: Is it described as smooth, and is it heavy enough that writing does not show through?
What can wait
None of the following is needed for a first session, and all of it is easier to choose once you have some practice behind you:
- An oblique holder. It sets the nib at an offset to help with steeply slanted scripts. Many people learn comfortably with a straight holder first.
- A collection of nibs. One or two of the same kind is plenty. Learn how one nib behaves before comparing.
- Colored and metallic inks. They are enjoyable, but several behave differently from plain black and add variables while you are still learning pressure.
- A light pad. Useful for seeing guidelines through heavier paper. A sheet of ruled lines under thin paper does a similar job.
Choosing between the two routes
If you are unsure, start with the brush pen. It removes ink handling from the picture, so your attention stays on pressure and stroke shape. The skills carry over directly when you pick up a nib later.
If fine hairlines are what drew you to calligraphy, the dip pen route is a fair first choice too. Expect the first sessions to be partly about managing ink, and give yourself a protected desk and unhurried time. Whichever you choose, one pen, good paper and ruled lines are enough to begin.
Frequently asked questions
Can I start calligraphy with a regular pen or pencil?
You can learn stroke shapes, spacing and guidelines with a pencil, and that practice is useful. A regular ballpoint cannot make thick and thin lines on its own, though, so to practice pressure you will need a tool with a flexible tip, such as a small-tip brush pen or a pointed nib.
Should a beginner buy a calligraphy set or separate items?
Separate items usually serve a beginner better. Sets often include several nibs or pens you will not use for months, while leaving out suitable paper. One pen, a pad of smooth paper, a pencil and a ruler cover the first weeks, and you can add pieces as you discover what you need.
Do I need an oblique holder to learn pointed pen calligraphy?
No. An oblique holder helps some writers reach a steep slant more comfortably, but a straight holder is enough to learn the basic strokes and letters. Many people try an oblique holder later, once they know which scripts they want to write and how their hand likes to sit.