How to Hold a Calligraphy Pen: Grip, Posture and Paper Position
Common starting points for grip, sitting position and paper placement in calligraphy, offered as options to try and adjust, with notes for left-handed writers.
If you have looked up how to hold a calligraphy pen, you have probably found several confident answers that disagree with each other. That is because no single grip suits every hand, every tool and every script.
What follows is a set of common starting points for grip, sitting position and paper placement. Try each one, keep what feels comfortable and gives you a clean line, and change the rest. Left-handed writers will find notes of their own further down.
Start from comfort, then adjust
A calligraphy pen needs to do two things your everyday pen does not: respond to small changes in pressure or angle, and travel smoothly on both thin and thick strokes. A tense hand makes both harder. So the most useful general aim is a hold that is relaxed and steady, in a position you can keep up for a short session without effort.
A relaxed grip to try
Many people begin with a three-finger hold, similar to an ordinary writing grip but looser:
- The pen rests on the side of the middle finger.
- The thumb and index finger hold it lightly from either side.
- The ring finger and little finger curl underneath and glide on the paper as a support.
Hold the pen a little back from the tip, roughly 2 to 3 cm (about 1 in) for many hands. Gripping right at the tip tends to block your view and encourages pressing down.
Hold the pen just securely enough to guide it. If your fingertips turn pale or your knuckles lock, ease off.
How low to hold the pen
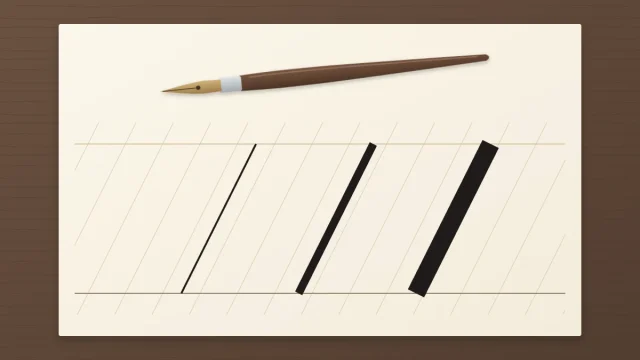
For everyday handwriting, most people hold a pen fairly upright. For calligraphy, a lower angle to the paper is a common starting point, something around 45 degrees, with the back of the pen resting near the large knuckle of the index finger or a little behind it.
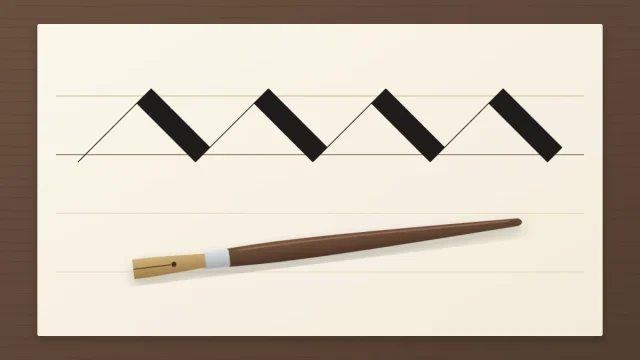
The reason is practical. A pointed nib held too upright digs into the paper on upstrokes and may catch or spatter. Lowering it lets the tip glide and lets the tines open evenly on a downstroke. With a brush pen, a lower hold brings the side of the tip into contact, which makes thick strokes easier. With a broad-edge pen, the full width of the edge needs to stay flat on the paper.
Tilt the pen a little higher and lower over a row of strokes and notice where the line looks cleanest. If you are using a nib and holder, the guide to dip pen calligraphy explains how to seat the nib and point it along your slant.
Sitting and arm position
A few options that many people find helpful:
- Sit so both feet can rest on the floor and the desk is at a height where your shoulders stay loose.
- Rest your writing forearm on the desk, with most of it supported, so the hand is not carrying the weight of the arm.
- Use your other hand to steady the paper and to move it as you write.
Where the movement comes from depends on the size of the stroke. Small shapes, such as the turns inside an x-height, can come mostly from the fingers. Longer strokes, such as ascending loops and tall downstrokes, are usually smoother when the whole forearm slides, pulling the hand along.
The grip and the amount of force you apply are closely linked, so once your hold feels settled, the article on controlling pen pressure is a natural next step.
Where to put the paper
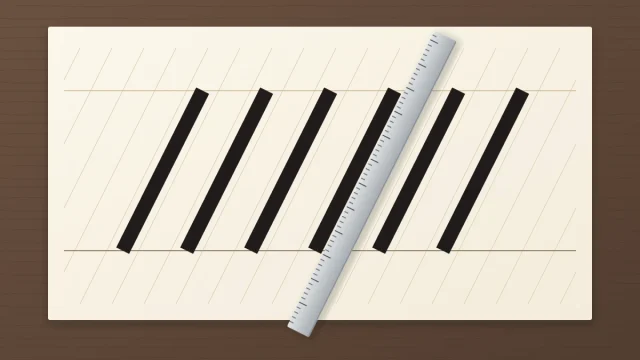
You do not have to keep the sheet square to the edge of the desk. For slanted scripts, many right-handed writers rotate the paper counterclockwise until the slant lines point more or less straight toward them. Downstrokes then become a simple pull toward the body, which is one of the easiest motions for the hand to repeat.
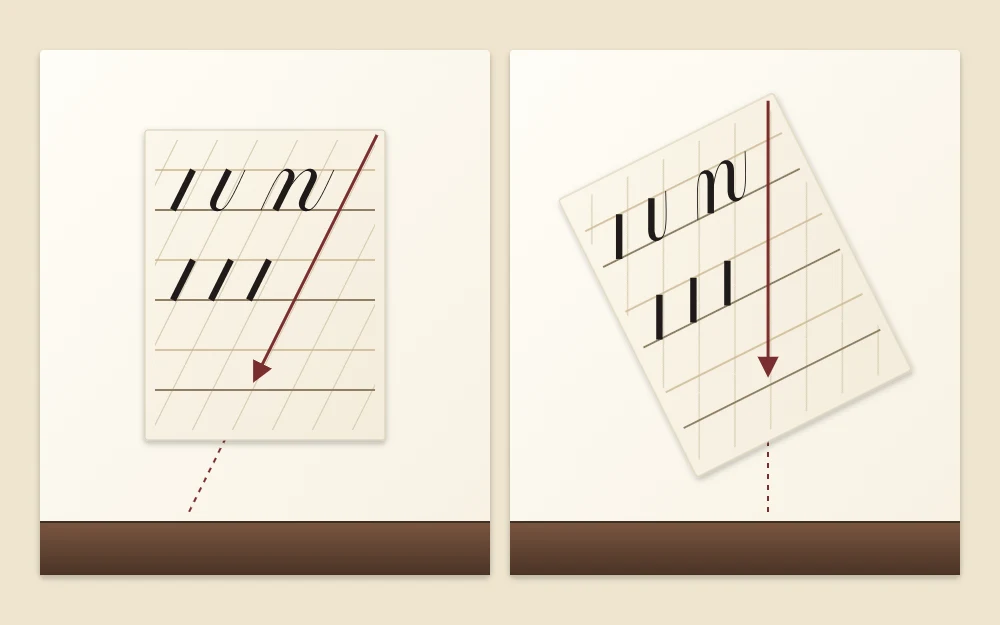
For upright styles and broad-edge writing, the paper often stays straighter.
Two more small habits can help:
- Keep the writing area in one spot. Slide the paper up and to the side as you go, so your hand stays in the zone where it moves most freely.
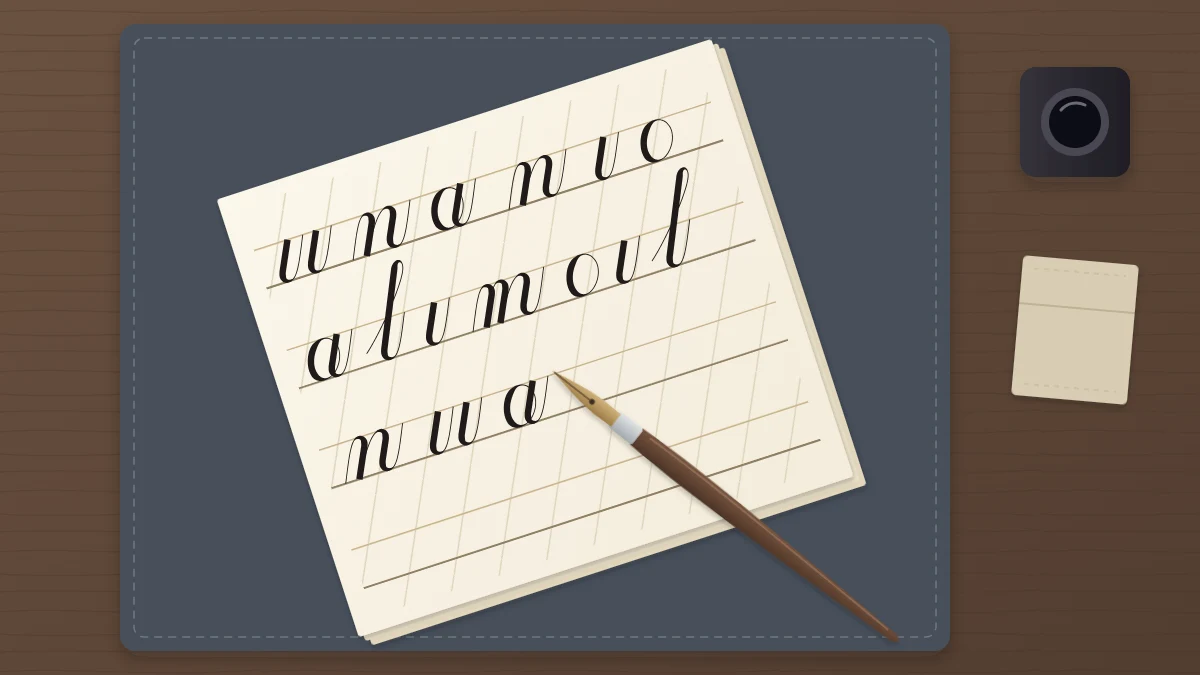
- Put a few sheets underneath. A pad of three or four sheets of paper under your page gives a slightly cushioned surface, which many people find kinder to a nib or brush tip than a bare hard desk.
If you use ink from a bottle, place it on the side of your writing hand, on a stable spot, so you do not reach across the page. Ink can stain permanently, so protect the desk first.
Notes for left-handed writers
Left-handed calligraphers use a range of approaches, and all of them can produce fine work. A few to try:
- Underwriting. The hand stays below the baseline, with the wrist fairly straight. The hand does not pass over fresh ink, which helps avoid smudging.
- Rotating the paper clockwise. Many left-handed writers turn the page to the right, sometimes by a large amount, until downstrokes become a comfortable pull.
- Overwriting. If you already write with your hand curled above the line, you can keep doing so. Slower-drying ink may smudge, so allow extra drying time or place a scrap sheet under your hand.
Turn the sheet a little at a time across a few rows of strokes and stay with the position where slant and pressure feel easiest. For pointed pen, a straight holder suits many left-handed writers well.
Signs your setup needs a change
Your page and your hand both give feedback. Consider adjusting something if you notice:
- A nib that catches or scratches on upstrokes, which may mean the pen is too upright.
- Slant that drifts across a line, which may mean the paper needs to move more often.
- A hand that feels tired within a few minutes, which often points to a tight grip.
- Long strokes that wobble, which may mean the fingers are doing work the arm could share.
The guide to common beginner problems and fixes can help you match a pattern to a cause.
Good to know
Take regular breaks and keep your grip relaxed. If something hurts, stop and change your setup before you continue.
Give it a few sessions
Any new hold feels strange at first, so try an adjustment for several short sessions before deciding whether it suits you. Change one thing at a time: the grip, then the pen angle, then the paper. That way you can tell what made the difference.
Frequently asked questions
Is there one right way to hold a calligraphy pen?
No. A relaxed three-finger hold a little back from the tip is a common place to begin, but hands, tools and scripts differ. Many calligraphers adjust their grip over time. A hold that stays loose, feels steady and gives you a clean line is a good one for you.
Why does my nib catch on the paper during upstrokes?
A pointed nib often catches when the pen is held quite upright, when too much pressure is used on the way up, or when the paper is rough. Try lowering the pen toward the page, lightening your touch on upstrokes and switching to a smoother sheet, one change at a time.
How should left-handed writers position the paper for calligraphy?
Many left-handed writers rotate the paper clockwise, sometimes a long way, and keep the hand below the line so it does not pass over wet ink. Others write from above the line. It is worth turning the sheet a little at a time until downstrokes feel like an easy pull.