Types of Calligraphy: Pointed Pen, Broad Edge and Brush
The three main families of calligraphy, sorted by tool: pointed pen, broad edge and brush. See how each makes thick and thin lines, what it asks of a beginner, and how to pick one.
Look up calligraphy and you meet a crowd of names: copperplate-style script, italic, uncial, modern script, brush script. Add the range of pens on offer and it is easy to stall before writing a single stroke.
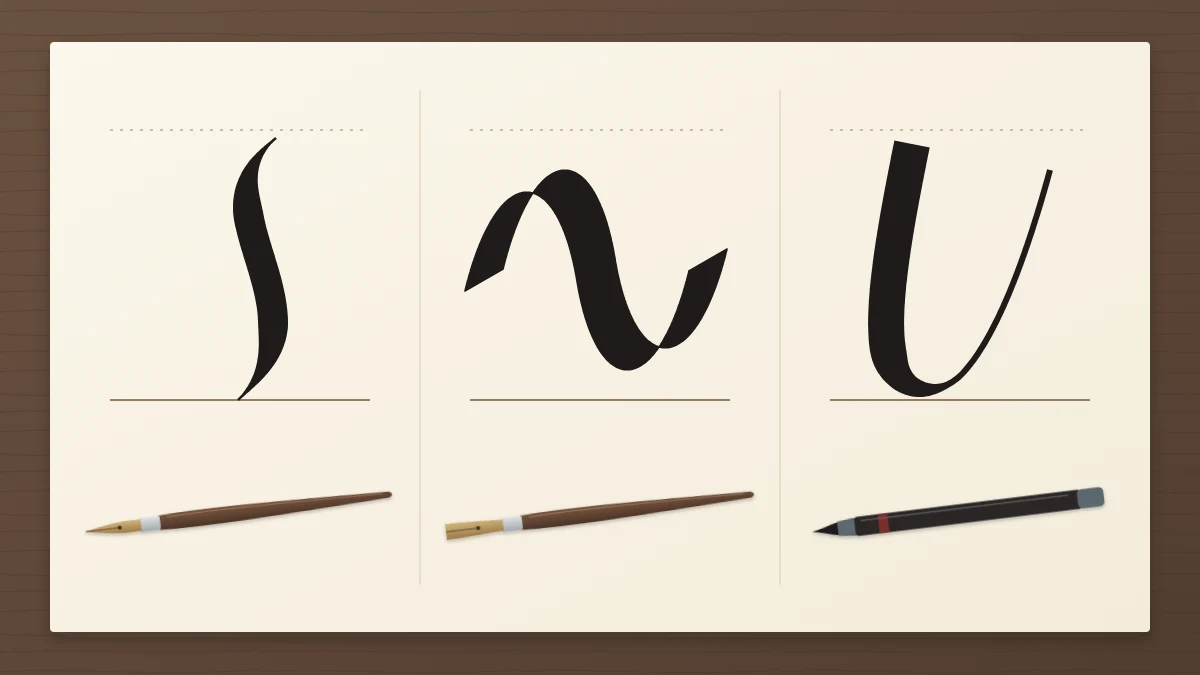
The different types of calligraphy become much easier to sort once you group them by the tool that makes them. Nearly everything a beginner will come across falls into three families: pointed pen, broad edge, and brush. Each family creates thick and thin lines in its own way, and that shapes how the writing looks and how it feels to learn.
Why the tool defines the type
In calligraphy the pen produces the contrast between thick and thin in a single pass. So the shape of the tip decides what kind of line is possible, and the styles built on that line share a family resemblance.
This is also what separates all three families from drawn letters, which are outlined and filled in. If that distinction is new to you, the comparison of calligraphy and hand lettering explains it in full.
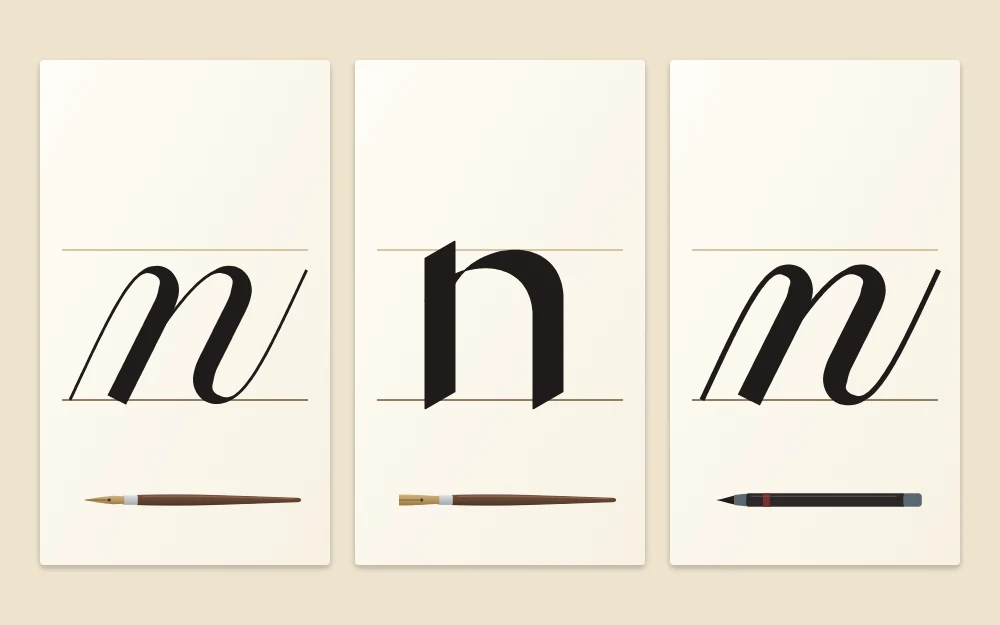
Pointed pen: pressure on a flexible nib
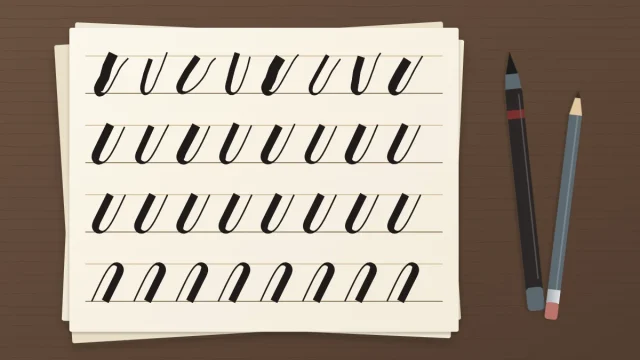
A pointed nib ends in a fine tip split into two halves called tines. With a light touch the tines stay together and leave a hairline. With more pressure on a downstroke they spread apart and the line swells. Release the pressure and the line narrows again.
The result is high contrast: very fine upstrokes beside full, shaded downstrokes, with oval shapes and loops. Traditional pointed-pen styles, such as copperplate-style script, lean to the right at a slant of roughly 55 degrees from the baseline. Modern pointed-pen styles are often more upright and looser in their proportions.
What it asks of a beginner
The nib is dipped in ink, so there is setup: preparing the nib, loading ink, wiping and cleaning. The point is sharp and can catch on paper fibers during upstrokes, which makes smooth paper important. Control of pressure takes time. In return, no other tool gives such fine hairlines. The guide to getting started with a dip pen walks through nibs, holders and first dips.
Broad edge: a flat nib at a steady angle
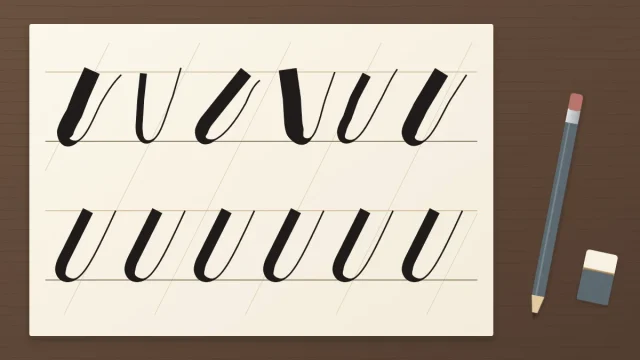
A broad-edge nib is flat across the end, like a small chisel. Pressure stays even here. What changes the line is the direction of travel while the edge stays at a constant angle to the baseline. Move along the thin edge and you get a hairline. Move across the full width and you get the thickest stroke.
The strokes look like a folded ribbon, with crisp starts and finishes. This family includes upright hands such as a foundational-style hand, slanted and slightly compressed italic styles, and rounded forms such as uncial. Many upright hands use a pen angle of roughly 30 degrees, and italic styles often use around 45 degrees. These are conventions, and they vary from one hand to another.
What it asks of a beginner
The main challenge is holding the pen angle steady across a whole letter, since a drifting angle changes every stroke. Letters are made from several separate strokes, mostly pulled downward or sideways, and their height is measured in nib widths. Many learners find the logic clear and satisfying once it clicks. The article on pen angle and how to keep it steady covers this skill on its own.
Brush and brush pen: pressure on a soft tip
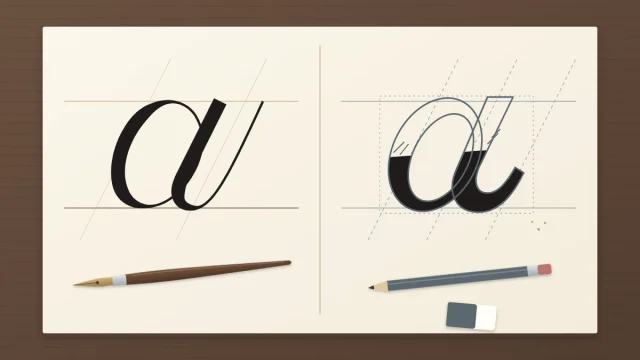
A brush pen has a flexible tip, made of felt or of fine bristles, fed by its own ink supply. It works on the same principle as a pointed nib: press on the downstroke for a thick line, lift to the very tip on the upstroke for a thin one.
The contrast is softer and rounder than a metal nib gives, and the look is the relaxed modern script seen on cards and envelopes. Small-tip brush pens produce writing close to pointed-pen scale. Large-tip brush pens produce bold letters that need a much taller x-height.
What it asks of a beginner
Very little setup: uncap and write. There is no ink bottle to manage and the tip glides without catching, which makes early sessions less frustrating. The upstrokes are thicker than a nib’s hairlines, and a soft tip can feel vague until your hand learns how far to press. Smooth paper also helps the tip last longer. See brush pen calligraphy for beginners for a first session.
The three families at a glance
| Family | What makes thick and thin | Typical look | Beginner notes |
|---|---|---|---|
| Pointed pen | Pressure spreading the tines | Slanted script, fine hairlines, strong contrast | More setup; sharp nib; needs smooth paper |
| Broad edge | Nib width and a steady pen angle | Upright or italic, ribbon-like strokes | Even pressure; angle control is the key skill |
| Brush pen | Pressure on a flexible tip | Soft modern script, rounder contrast | No ink bottle; quick to start |
How to choose your first type
There is no required starting point. A few questions can help you decide:
- Which look draws you in? Flowing slanted script points to pointed pen or brush pen. Structured, upright or italic writing points to broad edge.
- How much setup do you want? If you would like to practice at a kitchen table for a few minutes with nothing to clean, a brush pen fits. If the ritual of ink and nib appeals to you, a dip pen will be rewarding.
- What do you want to write? Names on envelopes and cards suit pressure-based script. Longer passages and formal pieces are often written with a broad edge.
One practical route is to learn the basic strokes with a small-tip brush pen and move to a pointed nib later, since both rely on the same pressure pattern. That is only one option. Starting directly with a dip pen or a broad-edge pen works too.
Tip
Give your first tool a few weeks before judging it. The awkward feeling in early sessions usually belongs to being new, not to having picked the wrong pen.
You can switch later
Choosing one family does not close off the others. Guidelines, consistent slant, even spacing and the habit of building letters from separate strokes carry over to any tool. Pressure skills move easily between brush pen and pointed pen, and many calligraphers eventually keep both a pressure script and a broad-edge hand.
So pick the one that makes you want to sit down and practice, and treat the choice as a starting place.
Frequently asked questions
What are the main types of calligraphy?
For Western scripts, most styles fall into three families named after the tool. Pointed pen uses a flexible nib and pressure, broad edge uses a flat nib held at a steady angle, and brush calligraphy uses a flexible brush tip and pressure. Named styles such as italic or copperplate-style script sit inside these families.
Which type of calligraphy is best for beginners?
There is no single best one. A small-tip brush pen has the least setup, so many people begin there. A broad-edge pen suits anyone drawn to upright or italic writing, and a pointed dip pen suits those who want fine hairlines and do not mind handling ink. Pick the look you most want to write.
Do skills transfer between pointed pen and broad edge?
Partly. The way thick and thin lines are made is different, so each tool needs its own practice. General habits carry over well, though: ruling guidelines, keeping a consistent slant, spacing letters evenly and building letters from separate strokes all apply to both.